Caring for a dog with long, pendulous ears requires a distinct maintenance strategy compared to breeds with upright ears. If you share your home with a Basset Hound, Cocker Spaniel, Standard Poodle, or Labrador Retriever, you already know that floppy ears add plenty of charm. Unfortunately, they also trap heat, moisture, and debris inside the ear canal, creating a microclimate where bacteria and yeast thrive. Establishing a consistent dog ear cleaning routine guide is one of the most effective ways to prevent painful infections and catch minor irritations before they escalate into veterinary emergencies.
Many pet owners only think about ear care when they notice an unpleasant odor or see their dog frantically scratching. However, reactive cleaning often comes too late. By understanding the anatomy of your dog’s ear, mastering safe cerumen (wax) dissolution, and knowing your limits with cotton balls, you can protect your dog’s hearing and comfort year-round. This guide breaks down everything you need to know about canine ear hygiene, from choosing the right veterinary-approved wash to recognizing when it is time to schedule a professional clinic visit.
Understanding Canine Ear Anatomy and Why Floppy Ears Trap Moisture
To clean a dog’s ear safely, it helps to understand what you are working with. Unlike human ears, which feature a relatively straight horizontal canal leading to the eardrum, a dog’s ear canal is L-shaped. It drops vertically from the opening before making a sharp horizontal turn toward the tympanic membrane. This unique L-shape is actually a clever evolutionary defense mechanism designed to protect the delicate eardrum from foreign objects and debris.
However, in floppy-eared breeds, the heavy pinna (the external ear flap) acts like a heavy blanket draped over the ear canal. Air circulation is severely restricted. When your dog swims, baths, or even walks through dewy morning grass, moisture easily finds its way into the vertical canal and struggles to evaporate. Trapped moisture combined with natural skin oils and wax creates an ideal breeding ground for opportunistic pathogens like Malassezia yeast and various bacteria.
Furthermore, the skin lining the inside of the ear flap and canal contains numerous sebaceous and apocrine glands that produce ear wax. While wax is a normal, healthy substance that traps dirt and protects the skin barrier, overproduction can lead to clogs. When wax buildup mixes with trapped moisture, it thickens, darkens, and sets the stage for chronic inflammation, medically known as otitis externa.
How Often Should You Clean Your Dog’s Ears?
One of the most common mistakes pet owners make is over-cleaning. It is easy to assume that if a little cleaning is good, more cleaning must be better. In reality, the skin inside a dog’s ear canal is exceptionally delicate. Over-cleaning strips away the natural lipid barrier that protects the skin, leading to irritation, redness, micro-abrasions, and secondary infections.
As a general rule of thumb, healthy ears with minimal wax accumulation do not need aggressive, frequent cleaning. A maintenance schedule depends heavily on your dog’s individual lifestyle and breed tendencies:
- Low-Risk Dogs: Dogs with upright ears that spend most of their time indoors may only need their ears checked weekly and wiped out gently during their regular grooming schedule, perhaps once a month.
- High-Risk and Floppy-Eared Dogs: Breeds with heavy ear flaps or dogs prone to excessive wax production often benefit from routine maintenance every one to two weeks.
- Swimmers and Working Dogs: Dogs that frequently swim in lakes, ponds, or pools should have their ears checked and dried thoroughly after every water session to prevent swimmer’s ear (moisture-associated dermatitis).
- Allergic Dogs: Dogs with environmental allergies (atopic dermatitis) frequently experience secondary ear inflammation and may require a customized cleaning schedule prescribed by their veterinarian.
Always inspect your dog’s ears before cleaning. If the ears look clean, smell normal, and show no signs of redness or discomfort, you can skip the wash and simply wipe the outer visible folds with a dry, soft cloth.
Assembling Your Dog Ear Cleaning Toolkit
Before you attempt any grooming session, make sure you have the right supplies assembled and within arm’s reach. Trying to grab a cotton ball mid-cleaning while holding a wiggly dog is a recipe for frustration. A proper ear care kit should include:
- Veterinary-Approved Ear Cleaning Solution: Look for a gentle, pH-balanced, non-irritating commercial wash recommended by your veterinarian. Avoid solutions containing harsh alcohols or hydrogen peroxide unless specifically directed, as these can severely damage the delicate lining of the ear canal.
- Cotton Balls or Gauze Squares: Soft, lint-free cotton balls or gauze pads are ideal for wiping away loosened debris from the visible parts of the ear.
- Treats: High-value treats (like small cubes of cheese or specialized training treats) are essential for creating a positive association with the cleaning process.
- Old Towel: Wrap a towel around your dog’s shoulders or place one over your lap. Once your dog shakes their head after the wash, loosened wax and liquid will fly.
- Headlamp or Good Lighting: Good illumination allows you to look down into the vertical canal to check for debris, foreign bodies, or signs of inflammation.
Notice what is missing from this list: cotton-tipped swabs (Q-tips). Never insert cotton swabs into a dog’s ear canal. While it might seem satisfying to pull out dark wax on the tip of a swab, you are almost certainly pushing the vast majority of the debris deeper down toward the L-shaped bend and packing it against the eardrum. This can cause impaction, trauma, or even rupture the eardrum.
Step-by-Step Dog Ear Wash Technique
Mastering a calm, efficient ear wash technique transforms a stressful wrestling match into a manageable grooming ritual. Choose a quiet time of day when your dog is naturally relaxed, perhaps after a long walk or play session. Follow these step-by-step instructions for a safe cleaning experience:
- Position Your Dog: For small dogs, place them comfortably in your lap. For medium to large dogs, sit beside them on the floor with their back against your knees or a wall so they cannot back away.
- Expose the Canal: Lift the ear flap (pinna) straight up to straighten the vertical canal and gain a clear view of the ear opening.
- Apply the Solution: Gently insert the nozzle of the ear wash bottle just inside the opening of the ear canal. Squeeze the bottle to dispense a generous amount of the liquid solution. The canal should be filled to the brim with the wash. Be careful not to force the nozzle deep into the canal.
- Massage the Base: Immediately after filling the canal, lower the ear flap and gently massage the base of the ear (the vertical tube area near the jawline) with your thumb and index finger for 20 to 30 seconds. You should hear a characteristic squishing sound. This acoustic massage helps break up stubborn wax and cellular debris adhered to the canal walls.
- Let Them Shake: Step back and let go of the ear. Allow your dog to shake their head vigorously. This natural reflex forces loosened gunk and excess liquid up and out of the horizontal and vertical canals, bringing it to the surface where you can wipe it away.
- Wipe Away Debris: Take a clean cotton ball or gauze square and gently wipe out the ear flap and the visible parts of the vertical canal. Never dig deep; simply remove whatever has been brought to the surface by the wash and head shake.
- Reward and Praise: Immediately offer praise and high-value treats to reinforce that ear cleaning results in good things. Repeat the process for the other ear using a fresh cotton ball.
Drying Techniques for Swim-Heavy and Allergy-Prone Breeds
For floppy-eared dogs, moisture management is just as important as wax removal. Trapped water softens the skin barrier, making it exceptionally vulnerable to bacterial proliferation. If your dog loves swimming or gets frequent baths, adding a dedicated drying step to your routine is crucial.
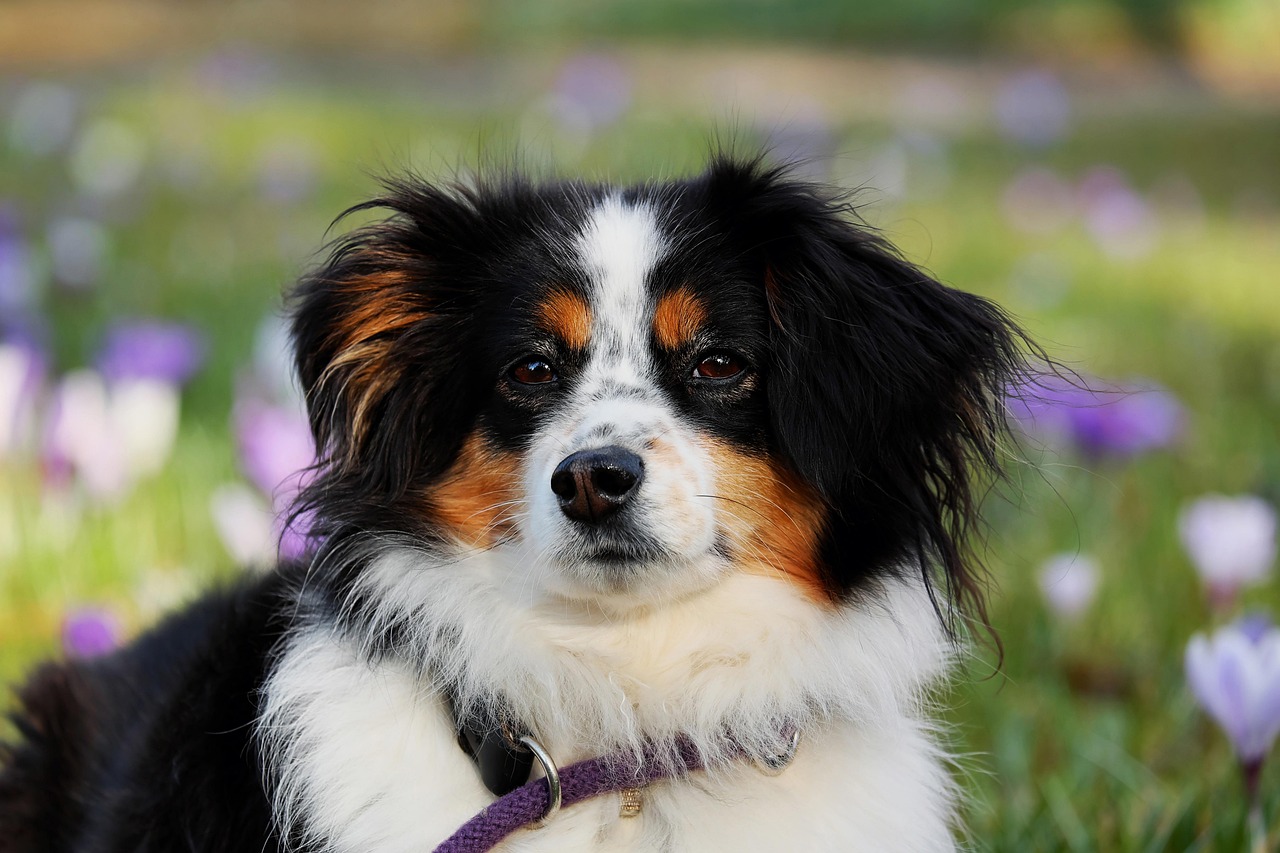
After swimming, always thoroughly towel-dry the exterior ear flaps and the surrounding fur. For the inner canal, you can use specialized drying solutions formulated for dogs. These solutions typically contain isopropyl alcohol or drying agents designed to bind with water molecules and accelerate evaporation. Apply a few drops of the drying solution after swimming, massage gently, and wipe away any residual moisture with a clean cotton ball.
If you use a handheld hair dryer to dry your dog’s coat after a bath, exercise extreme caution around the ears. Always set the dryer to the cool or lowest warm setting. Never use high heat, as a dog’s sensitive ear skin burns easily. Keep the dryer at least 12 inches away from the ear, and use your hand to shield the delicate pinna from direct, intense airflow. Thorough drying prevents the soggy environment that allows yeast to multiply overnight.
Recognizing Yeast Infection Symptoms in Floppy-Eared Dogs
Despite your best preventative efforts, floppy-eared breeds remain statistically prone to ear infections (otitis externa). Recognizing the early warning signs allows you to seek veterinary intervention before the infection travels to the middle or inner ear, which can cause severe pain, balance issues, and neurological symptoms.
Keep an eye out for these classic indicators of a yeast or bacterial ear infection:
- Head Shaking and Tilting: If your dog is constantly shaking their head or holding one ear tilted toward the ground, it indicates irritation or deep-seated itchiness.
- Excessive Scratching: Pawing furiously at the ear or rubbing the side of the head against carpets and furniture is a hallmark sign of discomfort.
- Foul Odor: A healthy dog ear should not smell offensive. A yeasty, cheesy, or pungent, sour odor indicates an overgrowth of yeast or bacteria.
- Redness and Swelling: Lift the ear flap and look at the skin inside. Bright red skin, swelling of the canal walls, or heat radiating from the ear are classic signs of inflammation.
- Discharge: Excessive brown, yellow, black, or bloody discharge points directly to an active infection. A dark, crumbly, coffee-ground-like discharge is often associated with ear mites, while thick, yellowish-green pus usually signals a bacterial infection.
- Pain or Behavioral Changes: If your dog yelps, pulls away, or growls when you touch their head or ears, they are experiencing significant pain. They may also become unusually lethargic or irritable.
When to Skip Home Care and See the Veterinarian
Knowing when to put down the ear cleaner and pick up the phone to call your veterinarian is one of the most important responsibilities of dog ownership. Attempting to treat an infected or compromised ear at home with over-the-counter washes can cause severe harm.
Never attempt to clean your dog’s ears at home if you observe any of the following “red flag” symptoms:
- Suspected Eardrum Rupture: If you suspect the eardrum is perforated (symptoms include severe pain, loss of balance, walking in circles, rapid eye movements, or profound hearing loss), do not put any liquid into the ear. Introducing washes through a ruptured eardrum can damage the inner ear and lead to permanent neurological damage or deafness. Only a veterinarian can inspect the eardrum using an otoscope.
- Severe Pain and Aggression: If your dog is in so much pain that they attempt to bite when you approach their head, stop immediately. A veterinarian can provide safe sedation or pain relief before examining the ear.
- Chronic or Recurring Infections: If your dog gets ear infections repeatedly throughout the year, simple home cleaning will not solve the root cause. Recurring infections often point to underlying allergies (food or environmental), endocrine disorders like hypothyroidism, or anatomical narrowing of the ear canal that requires medical management or surgical intervention.
- Lack of Improvement: If you have started routine cleaning for mild wax buildup and see no improvement, or if symptoms worsen over 48 hours, professional diagnosis is required.
When you visit the clinic, your veterinarian will examine the ear canal with an otoscope and likely take a small sample of the debris to examine under a microscope (cytology). This quick test identifies whether the culprit is yeast, bacteria, or both, allowing the vet to prescribe the exact medicated drops (antifungal, antibiotic, or anti-inflammatory) needed to clear the infection safely.
Conclusion: Consistency and Prevention as the Best Medicine
Managing the ear health of a floppy-eared dog does not require an advanced veterinary degree, but it does demand consistency, patience, and a gentle touch. By establishing a balanced dog ear cleaning routine guide tailored to your dog’s specific needs, you can keep wax buildup under control and stop moisture from wreaking havoc in the ear canal.
Remember to always use a veterinary-approved wash, ditch the cotton swabs in favor of soft cotton balls, and respect your dog’s behavioral boundaries. Above all, view routine ear checks not just as a grooming chore, but as an opportunity to monitor your dog’s overall health. Catching a budding yeast infection early saves your dog from needless pain and saves you from steep veterinary bills down the road. With the right technique and a pocketful of treats, you can keep your dog’s floppy ears clean, comfortable, and infection-free for life.