Adding a bidet attachment or bidet toilet seat to your bathroom is one of the most satisfying home upgrades you can make. It improves daily hygiene, reduces toilet paper waste, and installs in under an hour without requiring specialized plumbing skills. However, noticing a slow puddle forming around the base of your toilet bowl or feeling a persistent dampness on the supply hose can instantly ruin that satisfaction. If you are searching for how to fix leaking bidet attachment issues, you are definitely not alone. Bathroom supply connections operate under constant water pressure, meaning even a tiny misalignment or a degraded rubber washer can result in a frustrating, continuous drip.
Fortunately, you do not need to call a professional plumber or shell out hundreds of dollars in service fees to resolve the vast majority of bidet and toilet supply leaks. Most leaks stem from three predictable culprits: a misaligned T-valve connection, a pinched or degraded rubber O-ring gasket, or missing or insufficient thread seal tape on the threaded nipple. This step-by-step troubleshooting manual will walk you through diagnosing the exact source of your leak, shutting down the water safely, and executing clean, permanent repairs using basic household tools like an adjustable wrench and a roll of Teflon tape.
Gather Your Tools and Prep the Bathroom Workspace
Before you dive underneath the toilet bowl with a wrench, take a moment to assemble the few items you will need. Having everything within arm’s reach prevents water from spilling across the floor while you are scrambling for supplies. You won’t need a heavy toolbox, but working in tight bathroom spaces requires patience and proper lighting. Taking five minutes to clear away floor clutter, bath mats, and storage baskets near the toilet base will give you the physical clearance needed to maneuver comfortably.
Here is your comprehensive checklist for a successful bidet repair job:
- An adjustable wrench (ideally an 8-inch or 10-inch model) or a pair of smooth-jawed channel-lock pliers (use extreme caution with soft chrome or plastic fittings to avoid gouging).
- A standard roll of thread seal tape (frequently called plumber’s tape, pipe dope tape, or Teflon tape).
- A bucket or small shallow pan to catch trapped water from the supply line and toilet tank.
- Several old bath towels, shop rags, or microfiber cloths to keep the surrounding floor completely dry during disassembly.
- Assorted replacement rubber washers, flat gaskets, or O-rings matching your specific fitting diameters (helpful if your existing ones are flattened, cracked, or brittle).
- A reliable flashlight, utility headlamp, or phone light to clearly see the deeply recessed back of the toilet tank.
- A clean, dry toothbrush or nylon detail brush for scrubbing away mineral deposits or old thread tape residue from pipe threads.
Once your workspace is ready, take a careful look at the layout of your current setup. Most modern bidet attachments use a specialized T-valve that connects directly to the bottom of the toilet tank fill valve, where the flexible braided steel supply hose usually attaches. Understanding this geometry makes it much easier to isolate where the water is actually escaping.
Step 1: Shut Off the Water Supply and Drain the Lines
Never attempt to loosen a bathroom plumbing connection while the water supply is active. Even if the shut-off valve is partially closed, municipal water pressure can spray water across your bathroom the moment a seal is broken. Safety, patience, and dryness always come first when dealing with home plumbing systems.
Locate the water shut-off valve on the wall directly behind or beside your toilet. Turn the handle clockwise until it comes to a complete stop. If you have an older multi-turn round handle, turn it firmly until tight without forcing the stem. If you have a modern quarter-turn ball valve, rotate the handle ninety degrees so it sits perpendicular to the supply pipe.
Next, flush the toilet and hold the handle down until the tank empties as much water as possible. Because a small amount of water will still remain trapped inside the bottom of the tank and the flexible supply hose, place your small bucket or folded towel directly underneath the T-valve connection. Slowly loosen the coupling nut connecting the supply hose to the bottom of the toilet tank or the T-valve. Let the residual water drain completely into the bucket before proceeding further.
It is worth noting that some supply lines hold an air pocket or minor head pressure even after the wall valve is closed. If water continues to trickle continuously from the pipe instead of stopping after a few ounces, your wall shut-off valve may be failing to seal completely. In that situation, you may need to temporarily shut off your home’s main water supply valve—usually located in the basement, utility room, or garage—to complete the repair without a constant flood.
Step 2: Diagnose the Source of the Leak
With the system depressurized and drained, you can now inspect the assembly to determine why it was leaking in the first place. Look closely at all connection points. Water follows gravity, so the actual source of the leak is often located slightly higher than the wettest spot you noticed on the floor or the base of the toilet.
Perform a meticulous visual and tactile inspection of these three common zones:
- The Top T-Valve Connection: Where the T-valve threads directly onto the bottom plastic or metal thread of the toilet tank fill valve.
- The Supply Line Connection: Where your flexible water supply hose attaches to the bottom inlet of the T-valve.
- The Bidet Hose Connection: Where the thin bidet supply tube or braided hose connects to the side outlet of the T-valve or directly into the bidet chassis.
Run your clean finger along the threads of each connection. If your fingers come away wet or if you spot mineral crust, lime scale, white powdery buildup, or active water droplets, you have found your problem area. In many cases, quick bathroom plumbing fixes simply require tightening a loose nut or replacing a squashed gasket that has lost its structural memory.
Step 3: Inspect, Flip, or Replace Rubber O-Ring Washers
The unsung hero of any leak-free plumbing connection is the internal rubber washer or flat gasket. These soft components compress inside threaded nuts to form a watertight seal against smooth pipe ends. Over time, constant household water pressure, normal thermal expansion and contraction, age, and over-tightening can flatten, deform, or crack these critical rubber rings.
Unscrew the leaking connection completely and slide the hose or T-valve away to inspect the washer resting inside the female nut. Use a small flathead screwdriver or your fingernail to gently pop the washer out without tearing it.
Examine the condition of the rubber under good lighting:
- If it is pliable and whole: The washer may have simply shifted or slipped out of its seating groove during the initial installation. Clean away any debris, reposition it squarely inside the cap, and try reconnecting.
- If it is flattened on one side: Many standard flat washers can be safely flipped over to present a fresh, uncompressed surface against the mating pipe end.
- If it is cracked, brittle, or completely deformed: Do not try to salvage it. Take the old washer to a local hardware store to find an exact matching replacement, or use a universal plumbing washer kit.
Never install a bidet T-valve without its designated rubber washer or flat gasket. Relying solely on tape or metal-on-metal contact inside these specific coupling nuts will almost always result in a persistent drip that defies tightening.
Step 4: Properly Apply Thread Seal Tape (Teflon Tape)
While rubber washers handle the primary sealing work inside compression fittings, male threaded pipes require thread seal tape to lubricate the threads and prevent water from seeping through the spiral gaps. If your bidet T-valve connection is weeping water along the metal or plastic threads, old or missing tape is usually the culprit.

Remove the T-valve completely and clean any old tape debris or pipe dope off the male threads using a dry cloth or a soft brush. Inspect the threads carefully for cracks, burrs, or cross-threading damage incurred during past installations.
Apply fresh thread seal tape correctly by following these professional techniques:
- Hold the male fitting in one hand and the roll of Teflon tape in the other.
- Place the edge of the tape against the threads about two or three rotations back from the open end of the pipe.
- Wrap the tape clockwise around the fitting, pulling it taut so it molds tightly into the grooves of the threads. Wrapping counter-clockwise will cause the tape to bunch up and unspool when you screw the components back together.
- Apply 3 to 4 complete wraps around the threads, tearing the end cleanly and smoothing the tail down flat with your thumb.
This simple layer of tape fills microscopic imperfections in the threading, creating a watertight barrier that withstands household water pressure effortlessly.
Step 5: Reassemble and Tighten Without Over-Torquing
With fresh tape applied to the male threads and a healthy rubber washer seated correctly inside the female coupling nut, you are ready to put everything back together. Alignment is critical during this step, especially when working with plastic toilet tank threads.
Screw the T-valve onto the bottom of the toilet tank by hand first. Ensure the threads catch smoothly and evenly. If you feel resistance or notice the nut wobbling at an angle, back it off immediately to avoid cross-threading—a mistake that can ruin the threads on your toilet tank fill valve and force a complete tank replacement.
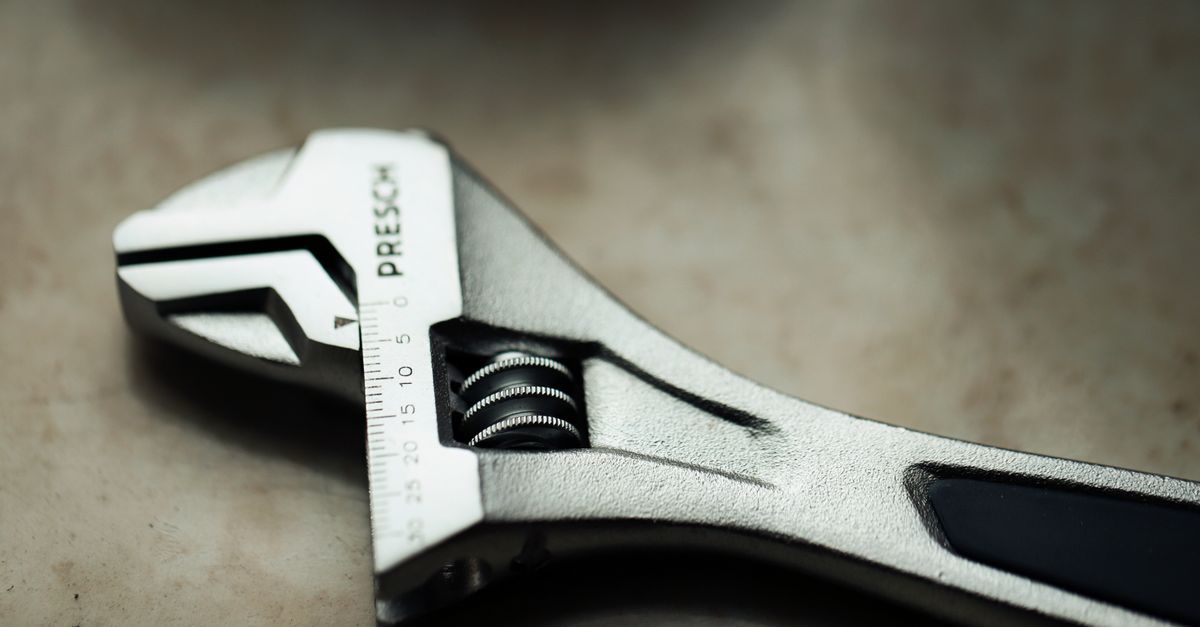
Once hand-tightened, use your adjustable wrench to give the connection an additional quarter-turn to a half-turn. Crucial Warning: Do not over-tighten plastic T-valves or plastic toilet fill valve threads. Applying excessive leverage with a large wrench can easily crack plastic housing, leading to a catastrophic leak. Stop turning the moment you feel firm resistance and the rubber washer compresses fully.
Reconnect your flexible main water supply line to the bottom of the T-valve, and attach the bidet hose to the side outlet, ensuring both utilize their respective rubber washers.
Step 6: Test the System and Monitor for Slow Weeps
Now that all connections are secure, it is time to restore water service and check your work methodically.
Slowly open the wall shut-off valve by turning it counter-clockwise. Listen closely for the sound of water rushing back into the toilet tank to refill it. As the tank fills, keep your dry paper towel or cloth pressed against every joint you touched.
Perform this thorough testing protocol:
- Inspect the top T-valve connection where it meets the toilet tank.
- Check the middle section where the flexible supply hose enters the T-valve.
- Examine the side port where the bidet hose connects.
- Test the bidet controls to ensure water flows through the nozzle correctly without causing pressure spikes that trigger new leaks.
Leave a dry paper towel or sheet of toilet paper laid flat on the floor underneath the plumbing connections for at least 30 minutes. Return periodically to check the paper. Even a microscopic slow weep will instantly discolor or dampen the paper towel, allowing you to catch minor issues before they turn into major floor damage.
Preventative Maintenance and Long-Term Care
Once your bidet attachment is dry and operating correctly, a few simple habits will keep it trouble-free for years. Plumbing fittings experience subtle vibrations every time the toilet flushes or water rushes through the pipes. Over many months, these vibrations can occasionally cause fittings to back off slightly.
Make it a point to visually inspect your bathroom supply lines twice a year during routine house cleaning. If you ever need to disconnect your bidet attachment for bathroom remodeling or deep cleaning, always strip away the old thread seal tape and apply a fresh wrap before reinstalling. By keeping spare rubber washers in your household toolkit and knowing how to troubleshoot supply line connections, you can maintain a comfortable, leak-free bathroom entirely on your own terms.
Frequently Asked Questions About Bidet Leaks
When homeowners encounter plumbing hiccups with bidet attachments, several common questions frequently arise regarding tools, materials, and troubleshooting strategies. Reviewing these expert answers can help clarify tricky edge cases during your repair process.
Should I use pipe joint compound instead of Teflon tape on plastic toilet parts?
No. Pipe joint compound (pipe dope) is formulated primarily for metal-on-metal threaded connections. On plastic toilet fill valves and plastic bidet T-valves, pipe dope can sometimes degrade the plastic material over time or fail to seal properly. Stick to high-quality Teflon thread seal tape for plastic threads, and ensure your rubber washers are doing the heavy lifting for the watertight seal.
Why does my bidet hose leak specifically at the swivel nut?
Swivel nuts on bidet hoses rely on an internal rubber cone washer or flat washer to seal against the smooth end of the hose fitting. If the nut is tightened while the internal washer is cocked sideways or pinched, water will bypass the seal and weep out the side. Unscrew the hose, inspect the rubber insert, make sure it is seated perfectly flat and centered, and re-tighten gently by hand followed by a slight tweak with a wrench.
Can high home water pressure cause my bidet attachment to leak?
Yes. If your home’s municipal water pressure exceeds 80 psi (pounds per square inch), plumbing fixtures, supply hoses, and bidet valves experience excessive stress that can blow past standard seals. If you notice repeated leaks or swollen supply hoses across your home, consider testing your water pressure with an inexpensive gauge attached to an outdoor hose bib and installing a pressure reducing valve (PRV) if necessary.