Few domestic nuisances match the persistent groan of a squeaky floor plank underfoot. Understanding how to fix squeaky hardwood floor screw kit US techniques allow homeowners to eliminate these irritating noises cleanly and permanently without tearing up costly floorboards or hiring expensive specialty contractors.
Most floor squeaks in American homes are not caused by broken timber or structural failure. Instead, they occur when seasonal humidity shifts, natural building settling, or initial installation gaps cause the finished floor or subfloor to loosen from the joists below. When weight shifts across the floor, loose subfloor panels or finish planks slide up and down along smooth shank nails, creating friction and loud popping sounds. Standard finish nails or top-driven trim screws rarely solve the issue long-term because they lack the clamping force to pull subfloors tight, or they leave unsightly, oversized screw heads exposed on your beautiful wood surface.
That is where specialized breakaway floor repair screw kits come into play. These systems utilize scored, hardened steel screws paired with a plastic depth fixture that drives the fastener directly through finished wood, subfloor, and into solid framing joists. Once the screw draws the layers tightly together, the fixture snaps the screw head off cleanly slightly below the surface, leaving a tiny pinhole that is effortlessly filled with matching wood putty.
Understanding Why Floors Squeak and How Fasteners Fix Them
To eliminate floor squeaks permanently, it helps to understand the anatomical layering of standard residential floor assemblies in North American homes. A traditional subfloor assembly consists of three main structural layers:
- Floor Joists: Heavy structural dimensional lumber (typically 2×8, 2×10, or engineered I-joists) spaced 16 inches or 24 inches on center.
- Subfloor: Plywood or OSB (oriented strand board) panels, usually 5/8-inch to 3/4-inch thick, nailed or glued across the tops of the joists.
- Finish Flooring: Tongue-and-groove hardwood planks, engineered wood, laminate, or carpet installed over the subfloor layer.
When subfloors flex away from the joists, gaps develop. Every step you take forces the subfloor downward; when you lift your foot, the wood springs back up. As the subfloor moves, it rubs against adjacent panels or slides along the shanks of original installation nails. A quality breakaway floor screw kit solves this by physically pulling all three layers together into a rigid sandwich, clamping the subfloor tight to the joist so vertical movement—and friction noise—becomes impossible.
Tools and Materials You Will Need
Before beginning your repair, gather the essential tools. Specialized floor repair kits are widely available at hardware stores and online home improvement retailers across the United States. Having all materials ready ensures a smooth, professional result.
| Tool / Material | Purpose | Notes / Recommendations |
|---|---|---|
| Breakaway Floor Screw Kit | Provides specialized scored screws, depth alignment fixture, and driver bits | Kits like Squeek-No-More or similar depth-control systems |
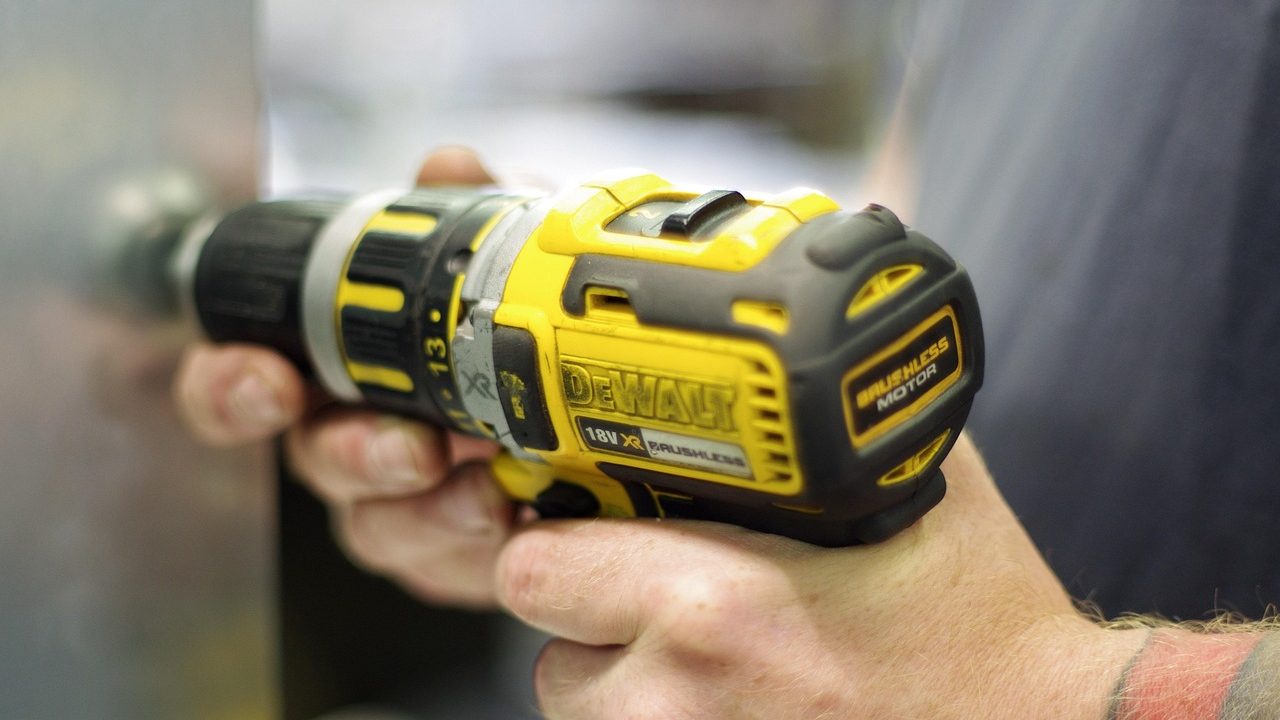
| Cordless Drill/Driver | Drives screws and drills pilot holes | 12V or 18V variable speed driver recommended |
| Stud Finder / Joist Locator | Finds center lines of floor joists below subfloor | Deep-scan electronic or high-strength magnetic stud finder |
| Painter’s Tape | Marks joist locations and protects wood finish | Standard low-tack blue painter’s tape |
| Color-Matched Wood Putty | Fills tiny holes above snapped screw shanks | Non-shrinking acrylic or wax filler pencil matching floor stain |
| Soft Cloth / Putty Knife | Cleans excess filler from hardwood surface | Plastic putty knife avoids scratching floor poly finish |
Step 1: Locating Floor Joists Accurately
The single most important factor in fixing squeaks from above is finding the solid framing joists underneath. Driving a screw through floorboards into empty air space between joists will fail to secure the subfloor and leave an unnecessary hole in your finish floor.
Method A: Electronic Deep-Scan Stud Finders
Set a multi-surface stud finder to its deep-scan mode (which penetrates up to 1.5 inches of material). Slide the scanner slowly perpendicular to the direction your floor joists run—which is almost always perpendicular to the length of your hardwood planks. Mark the edge boundaries of each joist with painter’s tape, then find the exact centerline, typically 3/4 inch inward from either edge.
Method B: The Tap and Sound Technique
If carpet or thick solid hardwood reduces electronic scanner accuracy, tap the floor firmly with a rubber mallet or small hammer wrapped in a towel. Areas between joists produce a hollow, booming resonance, whereas areas directly over joists yield a firm, solid thud. Validate the location by measuring in 16-inch or 24-inch increments from a known load-bearing wall.
Method C: Lower Level Access
If you have access to an unfinished basement or crawlspace below the squeaky room, have a helper walk on the squeaky spot above while you observe from below. Mark the joist location relative to heating vents, plumbing drops, or perimeter walls, then measure those reference points upstairs to pinpoint the exact target area.
Step 2: Preparing the Alignment Fixture and Drill
Once you have marked the joist centerlines across the squeaky zone, prepare your kit components. Breakaway floor kits include a specially molded plastic alignment fixture that performs two vital tasks: it acts as a depth guide for the drill bit and provides leverage to snap off the screw head after installation.
- Place a strip of blue painter’s tape over the squeaky hardwood board along the joist line to protect the surrounding polyurethane finish from friction heat or scuffing.
- Select a 3/32-inch pilot drill bit if working on dense solid hardwoods such as oak, hickory, or maple. Drilling a pilot hole through the finish plank prevents the hardwood from splitting as the core screw enters.
- Insert the driver bit provided in the kit into your cordless driver chuck and tighten securely. Set your driver torque clutch to a medium-high setting to ensure full torque delivery without stripping screw threads.
Step 3: Driving the Breakaway Screw
Set the plastic tripod fixture firmly on top of the taped target area directly over the joist centerline. Stand upright over the tool, applying firm, even downward body pressure on the plastic fixture to force the subfloor down into contact with the joist before driving the fastener.
Place the specialized score-line screw through the fixture guide hole. Begin driving the screw at low RPM, keeping your drill strictly perpendicular (90 degrees) to the floor surface. As the threads catch the subfloor and joist below, you will feel the screw pull downward and hear the subfloor clamp tightly against the framing timber.
Continue driving until the built-in stopper collar on the driver bit makes contact with the top of the plastic alignment fixture. This automated depth control ensures that the engineered score line (notch) on the screw shaft stops exactly 1/8 to 1/4 inch below the top surface of the hardwood floor.
Step 4: Snapping Off the Fastener Head
With the screw driven fully to depth, the head remains protruding slightly inside the plastic fixture ring while the score line rests beneath the wood surface. Now comes the engineered step that sets this system apart from traditional screws.
Fit the snapping slot on the side of the plastic fixture over the exposed head of the screw, or rock the entire tripod fixture firmly back and forth using your foot or hand leverage. The lateral force snaps the hardened steel screw cleanly at its engineered weakness score line beneath the wood face.
Remove the severed head and fixture. You will be left with a tiny pinhole—roughly the diameter of a finish nail head—with the threaded lower shank securely clamping the floor system together from deep inside the joist.
Step 5: Testing for Remaining Squeaks
Before filling the entry hole, step firmly on the repaired plank and shift your weight back and forth. In many cases, a single squeaky board spans across two or three adjacent joist lines. If you still detect slight movement or residual sound, drive a second score-line screw into the joist 3 to 4 inches away along the same framing line, or move to the adjacent joist line to fully stabilize the board length.
Step 6: Filling and Concealing Fastener Entry Holes
Once the floor is completely quiet and stable, you can make the small repair holes virtually invisible:
- Choose the Right Filler: Use non-shrinking solvent-based or acrylic wood putty designed specifically for pre-finished hardwood flooring. For factory-finished floors, solvent wax repair sticks matched to your grain tone work best.
- Apply Filler: Press a small dab of putty firmly into the hole using a flexible plastic putty knife or fingertips, forcing it into the recess above the snapped screw top.
- Clean Excess Material: Wipe away excess putty immediately with a damp cloth (for water-based putties) or mineral spirits on a rag (for oil-based compounds), moving across the grain to avoid pulling filler out of the recess.
- Buff and Polish: Once dry, lightly buff the area with a micro-fiber cloth to restore uniform sheen across your hardwood floor finish.
Alternative Applications: Fixing Squeaks Through Carpet
One major advantage of score-line screw repair kits is their capability to stop floor squeaks through carpet without damaging carpet fibers or creating pulls in the weave. The technique is nearly identical, with a few special considerations:
When working through wall-to-wall carpet, place the plastic fixture directly over the carpet pile above a joist. As you drive the screw, its smooth upper shank slides through the carpet backing without catching or twisting fibers. Once the screw drives home and snaps off below the subfloor top, the snapped head is discarded, and the carpet pile springs back, completely hiding the entry point without any need for wood filler or carpet cutting.
Evaluating Different Floor Types and Thicknesses
While breakaway screw kits excel on standard 3/4-inch solid hardwood over plywood, different residential flooring materials require slight adjustments to achieve optimal results:
Engineered Hardwood
Engineered wood consists of a thin real wood veneer layered over a plywood or MDF core. Because the wear layer is thin (typically 2mm to 4mm), use extra care when choosing your wood filler color to avoid a blotchy appearance around the repair site. Always pre-drill with a thin bit to avoid chipping the delicate top veneer.
Thin Laminate or Luxury Vinyl Plank (LVP)
Snap-off screw kits are generally not recommended for floating laminate or LVP floors because these systems rely on expansion gaps and interlocks to float freely. Screw fasteners pin floating boards down, which can prevent natural thermal expansion and cause buckling elsewhere in the room.
Common DIY Mistakes to Avoid
While breakaway screw kits make squeak repair straightforward, avoiding these common errors ensures a flawless result on your first attempt:
- Over-Torquing the Screw: Do not force the driver bit past the built-in stop collar. Over-torquing can strip out soft pine joist wood or snap the screw prematurely above the hardwood plane.
- Angled Screw Driving: Always maintain a strict 90-degree angle to the floor. Driving at an angle shifts the score line higher on one side, which can leave a sharp metal ridge exposed above the floor surface.
- Skipping Pilot Holes on Hardwoods: Driving hardened steel fasteners directly into dense Brazilian cherry, white oak, or maple without pre-drilling can split the wood grain along plank edges. Always pre-drill with a thin bit.
- Using Standard Drywall Screws: Never substitute standard drywall or deck screws for scored breakaway fasteners when repairing from above. Standard screw heads will snap flush or sit above the surface, ruining floor aesthetics and creating safety hazards for bare feet.
Long-Term Floor Maintenance and Prevention
After eliminating floor squeaks, maintaining consistent indoor environmental controls prevents future floor movement. Wood naturally expands and contracts in response to ambient moisture levels. During dry winter months, relative humidity in heated homes can drop below 20%, causing hardwood boards to shrink and separate from subfloors.
Aim to maintain indoor relative humidity levels between 35% and 55% year-round using whole-house humidifiers in winter and air conditioning or dehumidifiers during humid summer months. Keeping moisture stable reduces seasonal expansion and contraction cycles, preserving fastener grip strength and keeping your hardwood floors silent for years to come.
Frequently Asked Questions
Will this method work if I cannot access the floor from below?
Yes! Snap-off screw kits are specifically designed for top-down repairs when basement or crawlspace access is impossible or inconvenient.
Can I use this on floating floor systems?
It is best avoided on floating laminate or click-lock vinyl flooring, as pinning down a floating system can lead to buckling during temperature shifts.
How visible will the entry holes be on finished hardwood?
The holes are tiny—about 1/8 inch in diameter. When filled with color-matched non-shrinking putty or a wax pencil, they become virtually invisible from a standing eye level.
Final Thoughts
Repairing squeaky hardwood floors with a score-line breakaway screw kit offers an ideal blend of professional-grade stability and DIY simplicity. By taking time to accurately locate joists, pre-drill dense hardwoods, and drive depth-controlled fasteners, learning how to fix squeaky hardwood floor screw kit US projects empowers you to transform noisy, flexing floorboards into a silent, rock-solid surface without expensive refinishing or tear-outs.