When you cook heavy, flavorful meals at home, your kitchen exhaust system works silently behind the scenes to pull smoke, steam, and airborne cooking oils out of your living space. For most homeowners, kitchen exhaust duct grease trap maintenance only comes to mind when a range hood starts rattling or blowing grease back down onto the cooktop. However, neglecting this vital home system creates a severe, hidden fire hazard. Over months and years of heavy cooking, atomized fats, oils, and greases travel past the initial mesh filters, coating the interior walls of your ductwork, collecting in low points or inline traps, and baking onto the exterior roof cap cowling.
Understanding how your home ventilation system handles grease—and knowing how to systematically inspect, clean, and service every component—protects your property and keeps your household safe. Whether you have a simple under-cabinet range hood venting directly through an exterior wall or a powerful whole-house commercial-style ventilation system with remote roof-mounted blowers, a disciplined preventive maintenance routine is non-negotiable.
Anatomy of a Residential Exhaust System
Before you grab a screwdriver or a bottle of degreaser, it helps to understand the physical path that grease travels from your pots and pans to the great outdoors. A standard residential ducted exhaust system consists of several distinct stages:
- Baffle or Mesh Filters: The first physical barrier located directly inside the range hood. These aluminum, stainless steel, or galvanized mesh panels catch the largest droplets of grease as air enters the hood canopy.
- The Hood Plenum and Blower Housing: The internal cavity and fan housing where air collects before being forced into the duct transition collar. Grease frequently pools in the hidden corners of this housing.
- The Duct Run: Rigid or semi-rigid metal tubing (usually smooth-walled galvanized steel or aluminum) that transports the exhaust air through cabinets, walls, or ceiling cavities to the exterior. Flexible plastic or foil accordion-style ducts are prohibited by modern building codes for kitchen exhaust because their ridges trap grease and present a catastrophic fire hazard.
- Inline Grease Traps: Specialized collection cups or low-point drop boxes installed on long horizontal duct runs, designed to catch liquefied grease before it can pool in joints or leak through ceiling drywall.
- Exterior Roof Cap or Wall Cowling: The terminal termination point featuring a damper, bird screen, and weather cowl to prevent rain, pests, and backdrafts from entering the ductwork.
Recognizing the Warning Signs of Grease Buildup
Grease accumulation is insidious because it happens gradually. Homeowners often miss the early warning signs until a minor flare-up on the stovetop reaches into the hood and ignites the accumulated fuel. Look for these specific indicators that your system requires immediate servicing:
First, listen to the blower motor. If the fan sounds strained, hums loudly, or moves noticeably less air while operating on high speed, the fan blades and motor housing are likely weighted down with sticky grease deposits. Second, check for persistent cooking odors that linger long after dinner is finished and the kitchen is clean. If stale oil smells drift back into the kitchen when the exhaust fan is turned off, your roof cap damper may be stuck open or jammed shut by hardened grease.
Third, perform a visual inspection of the underside of your range hood. If you notice yellowish-brown droplets forming on the metal seams or dripping onto your backspash, your filters are fully saturated and grease is beginning to bypass them entirely. Finally, inspect the exterior roof cap from a safe vantage point. Dark, sticky staining running down the shingles or siding directly beneath the exhaust vent is a sure sign that liquid grease is being blown out of the duct and pooling externally.
Essential Tools and Safety Gear for Service Work
Cleaning kitchen exhaust systems involves working with caustic chemicals, sharp sheet metal edges, and awkward overhead angles. Assembling the proper toolkit before you begin ensures the job goes smoothly and safely.
For personal protection, wear heavy-duty rubber or nitrile gloves to protect your skin from powerful commercial degreasers. Safety glasses are mandatory; looking upward while scrubbing grease and chemical residue guarantees that splashes will fall toward your face. Wear durable clothing you do not mind staining or ruining, as old kitchen grease is notoriously difficult to launder out of fabrics.
For the cleaning process itself, gather a heavy-duty commercial alkaline degreaser or a concentrated dish soap formulation designed to break down animal and vegetable fats. Avoid generic all-purpose cleaners, which lack the surfactant strength required to dissolve polymerized cooking oils. Keep a stiff-bristled nylon scrub brush, non-scratch scouring pads, microfiber rags, a plastic putty knife for scraping heavy buildup, and a roll of heavy-duty paper towels on hand. If you are accessing roof-mounted equipment, ensure you have a sturdy, rated extension ladder and a helper to stabilize it.
Step-by-Step: Cleaning Range Hood Filters and Housing
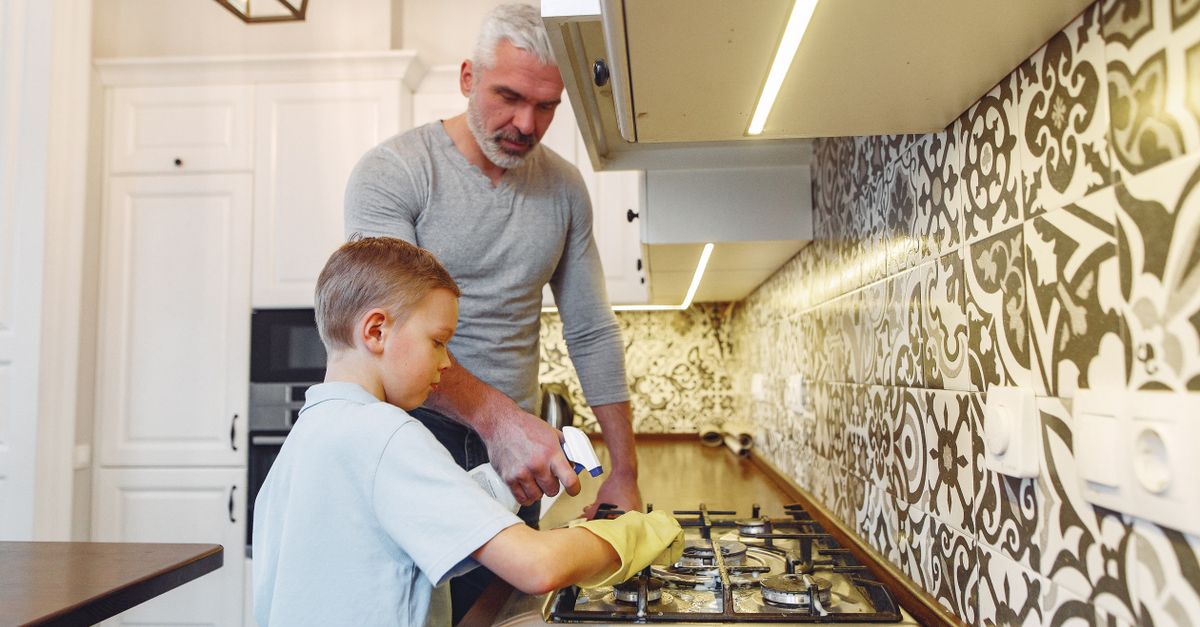
The easiest and most frequent maintenance task involves servicing the filters and the accessible hood housing. Depending on how frequently you cook—especially if you regularly deep-fry, sear meats at high temperatures, or use woks—this should be performed every month.
Start by releasing the latches on your range hood filters and gently pulling them down. Fill your kitchen sink or a large plastic storage tub with very hot water and a generous amount of concentrated degreaser or grease-cutting dish soap. Submerge the filters and let them soak for 15 to 30 minutes. This dwell time allows the chemicals to penetrate and lift the baked-on grease without requiring aggressive physical scrubbing that might bend the delicate aluminum mesh.
While the filters soak, spray the interior cavity of the range hood plenum with your degreaser. Let it sit for a few minutes, then wipe it down thoroughly with a damp microfiber cloth or non-scratch pad. Pay special attention to the corners and the housing around the fan blades. If your model allows you to safely wipe the fan blades without unbalancing them, clean those as well. Once the soak time is complete, scrub the filters gently, rinse them thoroughly with clean hot water, and let them air dry completely before snapping them back into place. Never operate a range hood without its filters installed.
Inspecting and Cleaning Internal Duct Runs
While cleaning the filters keeps the entry point clear, whole-house systems require periodic inspection of the hidden ductwork. Over several years of heavy use, grease vapor cools and condenses along the interior walls of the metal ducts, forming a sticky layer that attracts dust, lint, and soot.
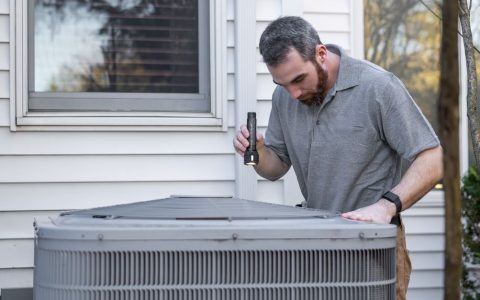
To inspect your ductwork, locate the accessible sections in your attic, basement, or utility room. Look for cleanout doors if your system was professionally installed with them. If no cleanouts exist, you may need to disconnect a accessible joint between two sections of rigid ductwork. Wear your safety glasses and gloves, and shine a bright flashlight down the length of the pipe. A thin, uniform film of dried grease is common in older systems, but if you see heavy, black, tar-like buildup or pooling liquid at the bottom of horizontal runs, the ductwork requires a thorough professional cleaning or manual scraping.
For accessible straight runs, wrap a heavy-duty microfiber cloth around a long-handled brush or use a specialized duct-cleaning brush kit attached to flexible rods. Scrub the interior walls to loosen the buildup, then vacuum out the loosened debris with a wet/dry shop vacuum. Avoid using harsh metal scrapers on thin aluminum ducting, as gouging or puncturing the pipe will ruin its integrity and allow exhaust air and grease to vent into your building cavities.
Servicing In-Line Grease Traps and Collection Boxes
Some heavy-duty residential range hoods and whole-house systems incorporate dedicated inline grease traps or collection boxes located in the attic or crawlspace along the horizontal duct run. These traps are engineered to capture heavy liquid grease before it can drain down into the kitchen or pool in low-lying duct joints.
Locate your grease trap by following the ductwork layout blueprints or tracing the pipe from the kitchen upward. Place a catch basin or heavy-duty bucket directly underneath the trap to catch any spills. Carefully unscrew or unlatch the access lid of the collection box. Expect to find a mixture of rancid oil, congealed fat, and particulate debris.
Scrape out the solid grease using a plastic putty knife or spatula, and deposit it into a sealed container for disposal in your household trash—never pour liquid grease down your sink drain, as it will solidify further down your plumbing lines and cause a severe main sewer backup. Once the bulk of the waste is removed, wash the interior of the collection box with hot soapy water, dry it thoroughly with paper towels, inspect the rubber gasket or O-ring seal for cracks or flattening, and secure the lid tightly to prevent air leaks.

Accessing and Servicing Exterior Roof Cap Cowlings
The final and most hazardous part of the exhaust system to maintain is the exterior termination point. For homes with roof-mounted exhaust cowlings or roof caps, weather exposure combined with baked-on grease creates a unique set of challenges that demand caution and respect for heights.
Set up your extension ladder on firm, level ground, ensuring it extends at least three feet above the roofline and maintains a safe 4-to-1 angle ratio. Secure the top of the ladder to prevent slipping, and climb up onto the roof wearing footwear with high-traction rubber soles. Never attempt roof maintenance in wet, icy, or high-wind conditions.
Once at the roof cap, inspect the exterior cowling and damper blades. Over time, grease vapors exiting the duct mix with dust and pollen, baking into a hard, cement-like crust around the damper hinge pins and the interior walls of the cap. This crust frequently glues the damper shut, preventing the exhaust fan from opening it during cooking and forcing backpressure down into your home. Use a scraper and a specialized exterior solvent spray to break down this crust. Ensure the damper flaps swing freely and snap completely shut when pushed. Finally, check the wire mesh bird screen inside the cap; if lint and grease have choked off the open mesh squares, scrub it clean with a wire brush to restore unobstructed airflow.
Establishing a Seasonal Maintenance Schedule
Consistency is the ultimate key to preventing grease fires and costly duct repairs. Waiting until your ventilation system fails or begins dripping oil is a recipe for emergency repair bills. Establish a tiered maintenance calendar tailored to your household cooking habits:
- Monthly: Remove and soak aluminum mesh or baffle filters. Wipe down the underside of the range hood canopy and accessible plenum surfaces.
- Quarterly: Inspect the exterior roof cap or wall cowling. Verify that the damper moves freely and that no grease is staining your siding or roof shingles. Check accessible inline grease traps and empty them if necessary.
- Annually: Perform a thorough inspection of your entire internal duct run. If you are a heavy user who cooks with oils, woks, or high-heat searing multiple times a week, hire a certified chimney sweep or professional kitchen exhaust cleaning service every two to three years to power-wash the entire duct system from hood to roof cap.
Common Homeowner Mistakes to Avoid
When servicing kitchen ventilation systems, well-intentioned DIYers often make critical errors that compromise safety or damage equipment. Avoid these frequent pitfalls:
Never use flammable solvents, gasoline, or mineral spirits to clean grease off your ductwork or filters. The fumes can easily be ignited by a stray pilot light or electrical spark, leading to an immediate explosion. Stick to water-based alkaline degreasers and dish soaps.
Do not ignore damaged or worn-out gaskets on inline grease traps or access panels. A compromised seal allows grease-laden air to leak into your attic or wall cavities, soaking wood framing and insulation over time. Replace deteriorated rubber seals immediately.
Finally, never attempt to clean a roof-mounted exhaust cap during stormy weather or without a stable second person holding the base of your ladder. Fall safety on residential roofs is paramount; if your roof pitch is steep or difficult to navigate safely, hire a qualified local contractor to service the exterior termination point.
Conclusion
Maintaining your kitchen exhaust ventilation system is a straightforward chore that pays massive dividends in home safety, indoor air quality, and peace of mind. By establishing a regular routine that addresses range hood filters, hidden duct runs, inline grease traps, and exterior roof cap cowlings, you eliminate the fuel source that feeds dangerous kitchen fires. Take time this weekend to inspect your system, clean your filters, and ensure your home is fully protected from the hidden hazards of cooking grease.