There are few domestic annoyances quite as maddening as a high-pitched floor squeak directly in the middle of a heavily trafficked hallway or right beside your bed. For decades, the conventional wisdom for silencing these noisy spots involved ripping up carpet, prying up hardwood planks, or shooting unsightly screws downward through finished flooring—leaving you with ugly surface patches to repair. But if your home features an unfinished basement or an accessible crawlspace, you have a massive structural advantage. You can easily learn how to fix squeaking floor joists entirely from below.
By targeting the root cause of the noise—the microscopic friction between framing members and the subfloor panels—you can stabilize your floors permanently. This guide walks you through the diagnostic process, the necessary hardware, and the exact installation steps required to quiet your home without ever lifting a floorboard in your living space.
Understanding Why Floors Squeak: The Mechanics of Subfloor Friction
To fix a squeak, you first need to understand what is happening beneath your feet. When lumber was installed during the construction of your house, floor joists and plywood or OSB subfloor panels were tightly fastened together. Over time, changes in indoor humidity, seasonal temperature swings, and the natural drying and settling of framing lumber cause the wood to warp, twist, and shrink.
As wood shrinks away from fasteners, a tiny gap—often no thicker than a sheet of paper—develops between the top edge of the floor joist and the underside of the subfloor. When you walk across the floor, your body weight deflects the subfloor downward. The plywood collides with the shank of a loose drywall screw, framing nail, or the top of the joist itself. This downward friction generates the classic high-pitched shriek. If the joist itself is twisting slightly under load, the problem compounds, creating a chorus of groans and pops.
Traditional top-down fixes try to pull the subfloor back down to the joist. However, if the gap is wide or the framing is slightly warped, driving a screw from the top often fails because there is no solid wood remaining for the threads to bite into. Working from the basement lets you push material upward, bridging the gap from a stable foundation.
Furthermore, understanding the interaction between different subfloor materials is critical. Oriented Strand Board (OSB) reacts differently to moisture cycles compared to traditional exterior-grade plywood. OSB tends to swell slightly more along its edges when exposed to high relative humidity in crawlspaces or damp basements. When this swelling and subsequent drying happens repeatedly over multiple seasonal changes, the fasteners holding the panels to the floor joists begin to wallow out their holes. This creates lateral play in addition to vertical separation. When you step on the floor, the subfloor panels slide horizontally across the top flange of the joist by a fraction of a millimeter. That microscopic lateral shearing force produces a distinct, sharp click that is often mistaken for a deep structural issue, when in reality it is just a fastener-to-panel friction point.
Gathering Your Tools and Materials
Before crawling beneath your floor joists, assemble a specialized toolkit designed for structural stabilization and acoustic dampening. Having the right hardware on hand prevents mid-project trips to the home center.
- Cordless Impact Driver: Provides the torque needed to drive structural screws into dense framing lumber without stripping heads.
- Flashlight or Work Light: A high-lumen headlamp or magnetic utility light is indispensable for inspecting dark ceiling cavities.
- Offset Steel Bracing Brackets: Heavy-gauge steel brackets designed to span the gap between the joist side and the subfloor underside.
- Structural Screws: Engineered wood screws (typically #10 x 2-1/2 inch or 3-inch rated architectural screws) rather than standard drywall screws, which snap easily under shear stress.
- Acoustic Damping Shims or Neoprene Pads: Flexible wedges or rubber pads placed between metal brackets and wood to absorb microscopic vibrations.
- Stethoscope or Wooden Dowel: Used for acoustic sound tracing to pinpoint the exact location of the squeak from below.
- Safety Glasses and Dust Mask: Essential protection against falling debris, old insulation fibers, and sawdust.
When selecting your fasteners, pay close attention to the manufacturer’s coating recommendations. If your basement is damp or unconditioned, standard zinc-plated screws will eventually corrode, weaken, and allow the squeak to return. Opt for exterior-grade, ceramic-coated, or galvanized structural screws that offer superior corrosion resistance and high shear strength ratings.
Step 1: Diagnosing and Locating Squeaks From Below
Pinpointing a squeak from the basement requires a two-person team and a bit of coordinated detective work. While standing in the living space above, a helper should walk back and forth across the troubled zone, stepping deliberately on the exact spot that generates the noise. Meanwhile, you stand in the basement with your flashlight and diagnostic tool.
Place the end of a wooden dowel or a mechanic’s stethoscope firmly against the underside of the subfloor between the joists, holding your ear to the other end. As your partner walks overhead, listen for the vibrations. The sound will resonate loudest through the framing member closest to the problem.

Once you narrow down the general bay, look closely for visual indicators of movement:
- Gapping: Shine your flashlight beam parallel to the top edge of the joist. Look for ribbons of light passing between the joist and the subfloor panel, indicating a separation gap.
- Dust Trails: Fine piles of wood dust or rust powder accumulating on top of the joist flange usually signify that two surfaces have been rubbing together under pressure.
- Nail Pops and Protrusions: Look for nails that appear to be backing out or tilting at an angle.
Mark the trouble spots directly on the wooden joist with a grease pencil or chalk. Measure the distance from a permanent reference point—like a main support beam or foundation wall—so you can easily locate the spot when you return with your tools.
It is worth noting that sound travels deceptively through wood framing. A squeak that sounds like it is originating directly over Joist A might actually be caused by subfloor movement spanning between Joist A and Joist B. If your initial inspection of the primary suspect joist reveals a tight, solid connection with no dust trails or gapping, shift your diagnostic focus one bay over. By systematically testing adjacent joists using your stethoscope or dowel, you can isolate whether the problem is a single loose board or a wider area of subfloor deflection.
Step 2: Selecting the Right Bracing Strategy
Not all floor squeaks require the same repair method. Selecting the appropriate hardware depends on the nature of the subfloor movement and the clearance available between your joists.
For minor separation gaps where the subfloor simply bounces slightly against the joist top, specialized offset steel bracing brackets are the gold standard. These L-shaped or Z-shaped brackets mount to the vertical face of the floor joist and feature an upper flange that extends horizontally underneath the subfloor. By driving a screw upward through the bracket into the subfloor and several screws horizontally into the joist, you create a rigid bridge that locks the two components together.
If you are dealing with sagging floor joists that exhibit structural bounce rather than just a localized surface squeak, you may need a combination of steel bridge braces and wood cross-bridging or steel tension ties. However, for standard subfloor squeaks, offset steel brackets provide targeted, high-strength immobilization without requiring major structural shoring.
Another factor to consider is the type of framing lumber supporting your home. Modern homes often utilize engineered wood I-joists or open-web floor trusses rather than traditional solid-sawn dimensional lumber (like 2x10s or 2x12s). If your basement features engineered I-joists, you must take extreme care when choosing your bracing hardware. Never drive screws directly into the thin OSB vertical web of an I-joist unless specifically permitted by the manufacturer’s installation guidelines, as doing so can compromise the structural integrity of the joist. Instead, use specialized brackets designed to clamp onto the top or bottom flanges, or install solid wood blocking between the webs to tie adjacent joists together securely.
Step 3: Installing Offset Steel Bracing Brackets
With your diagnostic marks in place, you are ready to begin the installation process. Clear away any hanging insulation around the work area, tucking it safely out of the way.
Hold the offset steel bracket against the side of the joist so that its top horizontal flange presses firmly upward against the underside of the subfloor. If there is a visible gap between the wood components, do not force the bracket to crush the wood immediately. Instead, use a specialized screw to draw the assembly together gradually.
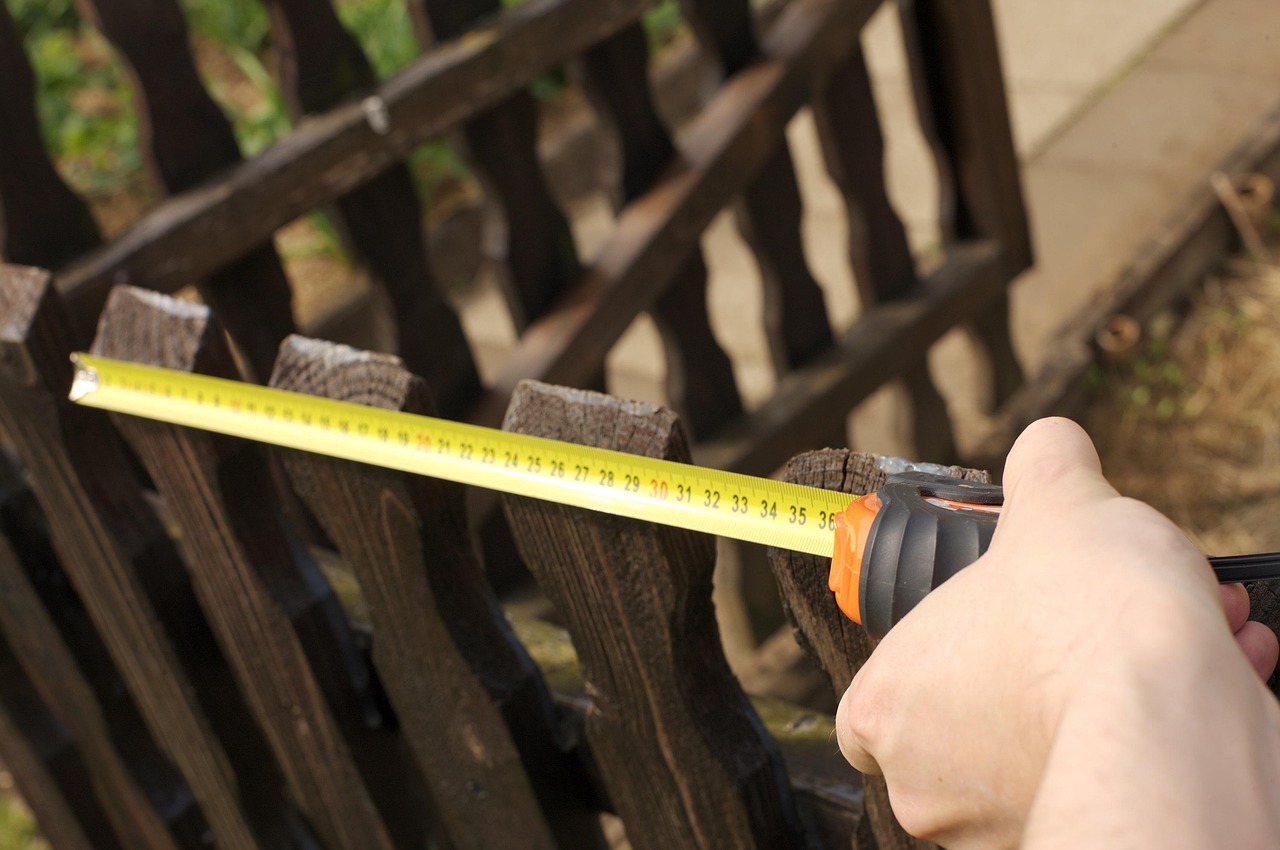
Drive structural wood screws through the pre-bored holes in the vertical face of the bracket directly into the side of the joist. Use your impact driver to sink them flush. Next, drive short, heavy-duty structural screws upward through the horizontal flange of the bracket directly into the subfloor panel. Ensure your screw length is precisely matched to your subfloor thickness—typically 3/4 inch—so that the fastener bites deeply into the plywood without poking all the way through your carpet or hardwood flooring upstairs.
Install brackets on both sides of the joist if the squeak spans across two adjoining bays, or install them on adjacent joists if the subfloor panel bridges the gap between them. Generally, placing a bracket every 16 to 24 inches along the problematic section provides optimal rigidity.
When driving your vertical screws into the subfloor through the bracket’s top flange, monitor the resistance carefully. If the screw spins freely without biting, you have likely encountered a void in the subfloor or missed the panel edge entirely. Back the screw out immediately, shift the bracket slightly, and re-drive it into solid wood. Ensuring absolute flush contact between the steel flange and the underside of the subfloor is the single most important factor in preventing future movement.
Step 4: Utilizing Acoustic Damping Shims to Silence Stubborn Vibrations
Sometimes, even after metal brackets are firmly installed, minor metal-on-wood or wood-on-wood resonance can produce a faint ticking sound when the floor flexes. To eliminate this residual noise, incorporate acoustic damping shims or high-density rubber pads.
Loosen your newly installed bracket slightly, slide a tapered hardwood shim or a thin piece of neoprene rubber between the bracket flange and the subfloor, and retighten the fasteners. The compressible material absorbs high-frequency vibrations before they can travel through the metal hardware and translate into audible sound.
This damping technique is particularly useful in older homes where dimensional lumber joists have warped significantly over decades. The shim fills irregular contours far better than rigid steel alone, ensuring 100% surface contact.
In addition to neoprene rubber, you can also use specialized vibration-damping adhesive pads or heavy-duty felt strips. When the structural screw is tightened, these materials compress into every microscopic void, acting as a buffer that stops mechanical chatter cold. This extra layer of defense is especially valuable in bedrooms and home offices where even the faintest residual click can be distracting.
Troubleshooting Engineered I-Joists vs. Dimensional Lumber
As noted earlier, distinguishing between traditional solid-sawn lumber and modern engineered framing is paramount before picking up a drill. Traditional 2×10 or 2×12 framing lumber is forgiving; you can attach brackets and drive structural screws almost anywhere along the upper portion of the joist without fear of structural compromise.
Engineered I-joists, however, consist of a narrow OSB web sandwiched between laminated veneer lumber (LVL) flanges. The top flange bears the downward load of your floor, while the bottom flange handles tension. The thin central web is designed primarily to keep the top and bottom flanges separated. Driving unauthorized screws or bolts through the center of an I-joist web can initiate cracking or structural failure. If you are working with I-joists, always verify that your bridging hardware is engineered specifically for I-joist compatibility, clamping securely around the flange rather than requiring web penetrations.
When to Call a Professional Structural Contractor
While fixing localized subfloor squeaks using offset steel brackets is a straightforward DIY weekend project, there are times when floor noises signal deeper structural issues that require professional intervention.
If you notice significant sagging across multiple joists, large splits or cracks running horizontally along the grain of the wood, or water damage and rot caused by past plumbing leaks, do not attempt a quick fix with brackets. These symptoms indicate that the load-bearing capacity of your framing has been compromised. A licensed structural contractor or structural engineer should evaluate the foundation and framing to determine if sistering the joists or installing supplementary steel lally columns is necessary.
Common Mistakes to Avoid During Basement Squeak Repairs
DIY repairs can sometimes go awry if shortcuts are taken. Keep these key caveats in mind to ensure your fix lasts:
- Using the Wrong Screw Length: Driving screws that are too long straight through your subfloor will ruin hardwood surfaces or carpet backing upstairs. Always measure your subfloor thickness before driving vertical screws.
- Skipping the Diagnostic Phase: Installing brackets at random without identifying the exact source of the friction wastes time and materials. Always verify movement with a helper before picking up a drill.
- Overtightening Hardware: Cranking down structural screws with maximum impact force can strip out wood fibers or warp framing members. Snug the screws firmly, but let the bracket design do the heavy lifting.
- Ignoring Joist Damage: If a joist is severely split, water-damaged, or sagging drastically, simple steel brackets will not solve the underlying structural integrity issue. Consult a structural engineer for severe framing damage.
Frequently Asked Questions About Subfloor Squeaks
Can I fix a floor squeak without visiting the basement?
Yes, but top-down repairs usually involve specialized breakaway screws or surface plugs that can be visible on hardwood or carpet. Working from an unfinished basement or crawlspace is always preferable because it allows you to address the problem structurally from underneath.
How many brackets do I need per squeak?
Typically, installing a pair of offset steel brackets—one on each side of the affected joist, or spanning the specific bay where the subfloor deflection occurs—is sufficient. For longer noisy corridors, space brackets every 16 to 24 inches.
Will fixing the squeak fix a sagging floor?
Steel bracing brackets stabilize localized subfloor movement and eliminate friction noise, but they will not lift a major structural sag. Significant floor sagging requires professional shoring, sistering joists, or adjustable support posts.
Long-Term Maintenance and Prevention
Once you have silenced your squeaking floors from below, keeping them quiet comes down to managing your home’s interior environment. Wood framing expands and contracts in response to dramatic swings in relative humidity. Maintaining your basement or crawlspace humidity between 30% and 50% using a dedicated dehumidifier prevents the lumber from drying out excessively and developing new gaps.
Additionally, periodically inspect your basement ceiling framing during routine home maintenance checks. If you notice any new settling or hear a faint echo of an old squeak returning, a quick quarter-turn of your structural screws can nip the problem in the bud before it becomes a major nuisance.