A loose stair baluster or a squeaking handrail can make an otherwise solid staircase feel cheap, neglected, and unsafe. When wooden stairs settle, change moisture levels, or experience heavy daily foot traffic, the tiny joints holding your spindles and railings in place inevitably loosen. Fortunately, you do not need to tear into your drywall, dismantle your entire staircase, or hire an expensive finish carpenter to solve the problem. If you want to fix loose stair balusters DIY style, the right combination of targeted diagnostics, structural adhesives, and discreet pinning will restore absolute rigidity to your staircase.
This guide walks you through diagnosing the exact source of movement, selecting the proper materials, and executing professional-grade repairs without causing collateral damage to your treads, skirt boards, or walls. By understanding the mechanical forces at play and applying precise, non-destructive interventions, you can eliminate annoying rattles, protect your staircase from progressive structural wear, and ensure the long-term safety of everyone in your household.
Understanding Staircase Construction and Common Failure Points
Before applying glue or driving fasteners into your staircase, it helps to understand how modern and traditional stairs are put together. Most residential stairs consist of treads (the horizontal boards you step on), risers (the vertical boards between treads), skirt boards (the trim running along the wall), and the balustrade system. The balustrade itself includes the handrail, newel posts (the large structural support posts), and balusters (also called spindles) that fill the gap between the rail and the stair treads. Every individual piece relies on tight joinery, friction fits, and high-strength adhesives to stay quiet and rigid under daily stress.
Balusters are typically installed in one of two ways. In traditional routed construction, the bottom of each baluster sits inside a plowed groove cut into the top of the stair tread or a designated base rail, held in place by small wooden fillets (spacers). In surface-mounted construction, individual balusters drop into pre-drilled holes or fit into metal shoes secured directly to the tread. Over time, seasonal humidity fluctuations cause the wood to expand and contract, loosening these tight friction fits. As the wood fibers compress from constant swaying, gaps form around the base and top of the spindle, leading to the characteristic wobble and irritating creaks that plague older homes. Furthermore, when family members lean on handrails or use balusters for balance while carrying heavy laundry baskets or luggage, lateral forces compound these microscopic gaps until the entire system begins to fail.
Recognizing the specific assembly method used in your home is vital before you start any repair work. For instance, attempting to pry out a fillet on a modern staircase that actually uses concealed dowel pins will result in splintered trim and damaged treads. Always inspect a few representative joints closely, using a flashlight and a magnifying glass if necessary, to determine whether your balusters are toenailed, socketed in bored holes, or secured within a continuous channeled plow.
Step 1: Diagnosing the Wobble (Spindle vs. Rail vs. Newel)
The golden rule of staircase repair is to never treat a symptom without identifying the root cause. A loose handrail might actually be caused by a loose newel post at the bottom of the stairs, and a loose baluster might be suffering from a cracked fillet strip rather than a failed mortise joint. Begin your inspection by systematically testing each component of your railing system from top to bottom.
Grab individual balusters near the middle and gently push and pull them horizontally. Do they rattle independently, or does the entire section of the handrail move with them? If an entire row of balusters sways in unison when you touch just one, the weakness almost certainly lies in either the handrail above them or the base rail below. Next, check the handrail itself. Apply upward and downward pressure, then try to twist it back and forth. Finally, lean your body weight gently against the main newel posts at the top and bottom of the run. If the newel post rocks even a fraction of an inch, every spindle and rail attached to it will eventually loosen. Always fix structural framework issues like loose newel posts before attempting to secure individual infill balusters.
Document your findings with a notepad or phone camera, marking any balusters that show significant lateral play or vertical lift. This diagnostic phase prevents you from wasting time gluing tight spindles while ignoring the actual source of structural deflection.
Tools and Materials for Non-Destructive Stair Repair
To execute a clean repair that leaves zero visible patch marks, you need specialized tools designed for precision woodworking. Avoid standard household white glue or thick construction adhesives, which lack the penetration and shear strength required for high-traffic stair joints.
- Structural Wood Glue: Look for a professional-grade polyvinyl acetate (PVA) adhesive or a low-viscosity epoxy that can seep into tight vertical crevices.
- Precision Glue Syringe: A plastic syringe with a blunt needle tip allows you to inject adhesive deep into hidden gaps around spindle bases without creating a messy surface overflow.
- Painter’s Blue Tape: Essential for protecting finished stair treads and painted skirt boards from accidental glue drips.
- Pin Nailer or Brad Nailer: A pneumatic or battery-powered 23-gauge pin nailer drives virtually invisible headless fasteners to lock shifting joints in place while glue dries.
- Color-Matched Wood Filler or Wax Stick: Used to conceal any microscopic fastener entry points or minor gap touch-ups.
- Micro-Fiber Rags and Denatured Alcohol: For wiping away excess wet glue instantly before it cures and ruins your wood finish.
- Torpedo Level: Ensures every repaired baluster stands perfectly vertical before adhesives set permanently.
Fixing Loose Stair Balusters at the Tread
Balusters that wobble at the base are the single most common staircase complaint. If your spindles are mounted over a plowed groove with wooden fillets, the problem is usually that the fillets have shrunk or popped loose, allowing the spindles to pivot. If your balusters sit in individual holes drilled into the treads, the tenon or dowel at the bottom has likely worn away the surrounding wood grain.
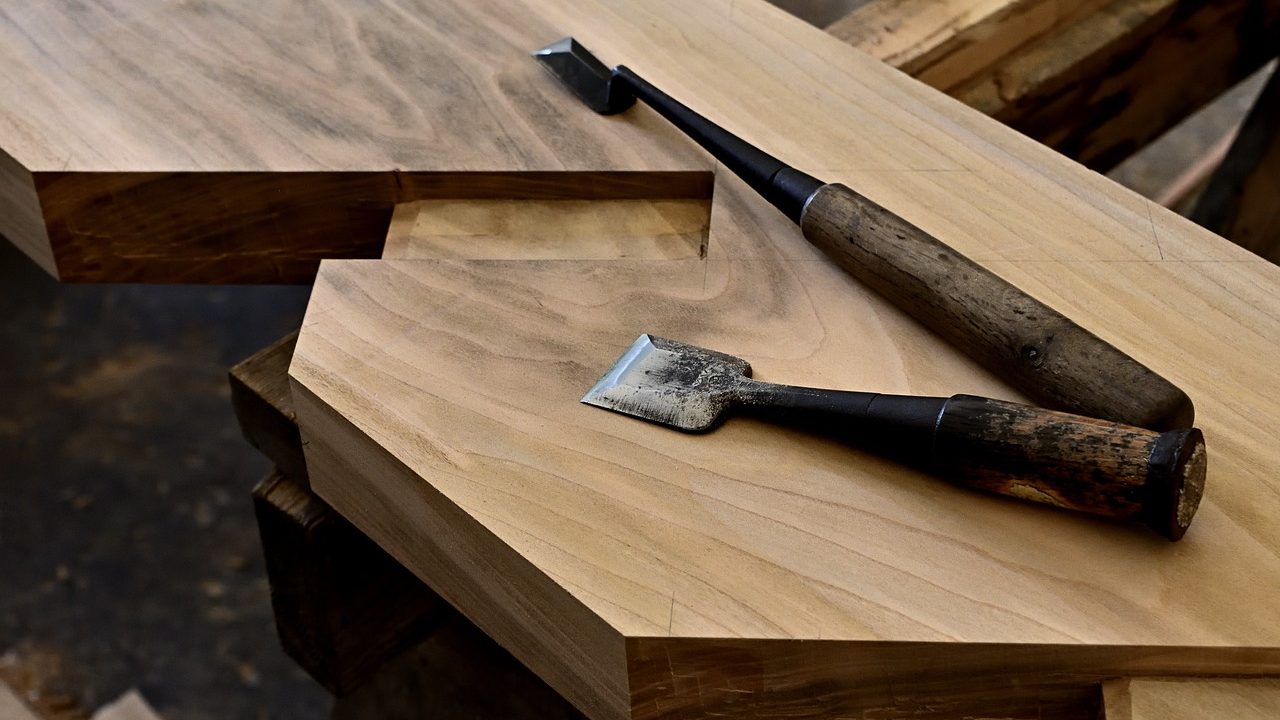
To fix a grooved-channel installation, carefully pry out the loose wooden filler strips adjacent to the wobbling baluster using a small chisel or utility knife, taking care not to gouge the surrounding tread. Once the fillet is removed, inspect the gap around the base of the baluster. Apply a generous bead of structural wood glue down into the channel on both sides of the spindle. Plumb the baluster so it stands perfectly vertical, using a small torpedo level. Cut a replacement piece of fillet to fit the gap snugly, apply glue to its edges, and tap it gently into place with a rubber mallet. Wipe away any squeeze-out immediately with a damp rag. Allow the assembly to cure fully before subjecting the handrail to normal daily use.
When working with older hardwoods like red oak or hard maple, take extra care not to split the adjacent trim when tapping in replacement fillets. If the original channel has widened significantly due to historical wood movement, you may need to wrap a thin layer of veneer around the base of the baluster or use an expanding polyurethane wood glue that fills voids as it cures.
Injecting Glue into Drilled-Hole Spindle Mounts
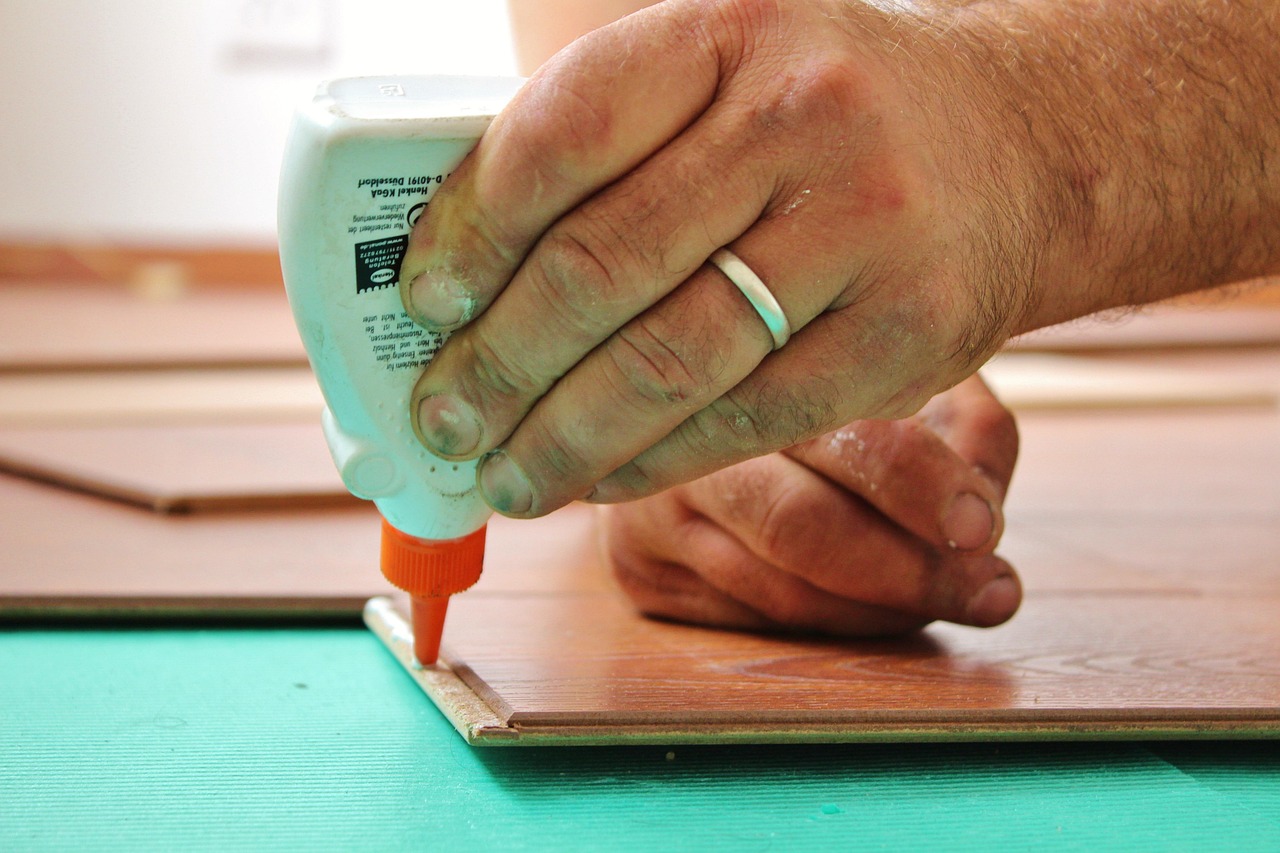
If your balusters are individually socketed into holes in the stair treads rather than sitting in a shared channel, prying out fillets is not an option. Instead, you must rely on gravity-fed or pressure-injected adhesive to bond the wood from within.
Fill your precision glue syringe with a high-strength wood adhesive. Push the blunt needle as far down as possible into the joint where the baluster meets the tread or base plate. Slowly depress the plunger, injecting adhesive until it begins to bead up slightly at the surface of the joint. Rock the baluster gently back and forth a few times to work the glue deep down into the micro-gaps around the tenon. Use your torpedo level to align the spindle correctly, then lock it temporarily in position using painter’s tape anchored to adjacent steps. Let the assembly cure undisturbed for at least 24 hours before removing the tape.
This method works exceptionally well because the low viscosity of professional PVA or specialized epoxy allows the liquid adhesive to wick deep into microscopic cracks between the spindle tenon and the surrounding bore hole. If the spindle continues to exhibit play after the glue has cured, it indicates that the internal wood fibers have completely disintegrated, requiring mechanical reinforcement through pin-nailing.
Pinning Persistent Spindles with Invisible Fasteners
Sometimes, simply gluing a joint is not enough to keep a stubborn baluster from shifting while the adhesive cures, especially if the hole has enlarged significantly over decades of use. In these instances, mechanical reinforcement is required, but traditional face-nailing leaves ugly hammer dents and large wood putty holes.
The professional solution is to use a 23-gauge headless pin nailer. Position the baluster precisely where it belongs. Load the pin nailer with a 1-inch or 1-1/4-inch pin. Place the nose of the gun tightly against the side of the baluster near the base, angling it slightly downward so the pin drives through the spindle and directly into the underlying tread or fillet. Because 23-gauge pins are exceptionally thin—essentially the thickness of a heavy sewing needle—they leave a hole so microscopic that it often disappears completely without filler. If a tiny dot remains, dab it with a matching stain pen or a colored wax furniture repair stick.
For added holding power, drive two pins from opposing or perpendicular angles. This creates a triangulation effect that immobilizes the spindle instantly, preventing any rotational twisting while the structural glue cures underneath. Always test your nailer pressure on a scrap piece of wood first to ensure the pins sink flush without splitting delicate turned spindles.
Repairing Creaking Wooden Staircase Treads and Risers
Loose balusters and squeaking stairs are close cousins. When footsteps cause stair treads to flex ever so slightly against the risers or stringers, the friction generates loud groans and pops, which in turn stresses the balusters anchored to those same treads. Silencing the stairs requires eliminating all vertical movement in the wood framing.
If your staircase has an open back or accessible underside (such as basement stairs or an open-stringer design), walk up the stairs while a helper listens and watches underneath to identify exactly where the boards are rubbing. Squeaks typically occur where the back edge of a tread meets the bottom of a riser. Drive a bead of structural wood glue along this joint from underneath, then drive hardened structural screws through the back of the riser up into the underside of the tread at a 45-degree angle. For finished staircases where the underside is sealed with drywall, use specialized trim-head composite screws driven directly down through the top of the squeaky tread into the stringer, sinking the small heads below the surface and patching the holes with matching wood filler.
Taking the time to silence squeaking treads not only improves acoustic comfort in your home but also protects the balustrade from being shaken loose by vibrating floorboards. A stable foundation ensures that your newly glued spindles remain rock-solid for years.
Tightening Wobbling Handrail Brackets
If your wall-mounted handrail feels loose or wobbles when gripped, the issue rarely lies with the wooden rail itself. Instead, the wall brackets have lost their grip on the framing studs or drywall anchors. A loose bracket allows the entire handrail to pivot, which places severe lateral stress on the balusters attached to the opposite end of the rail.
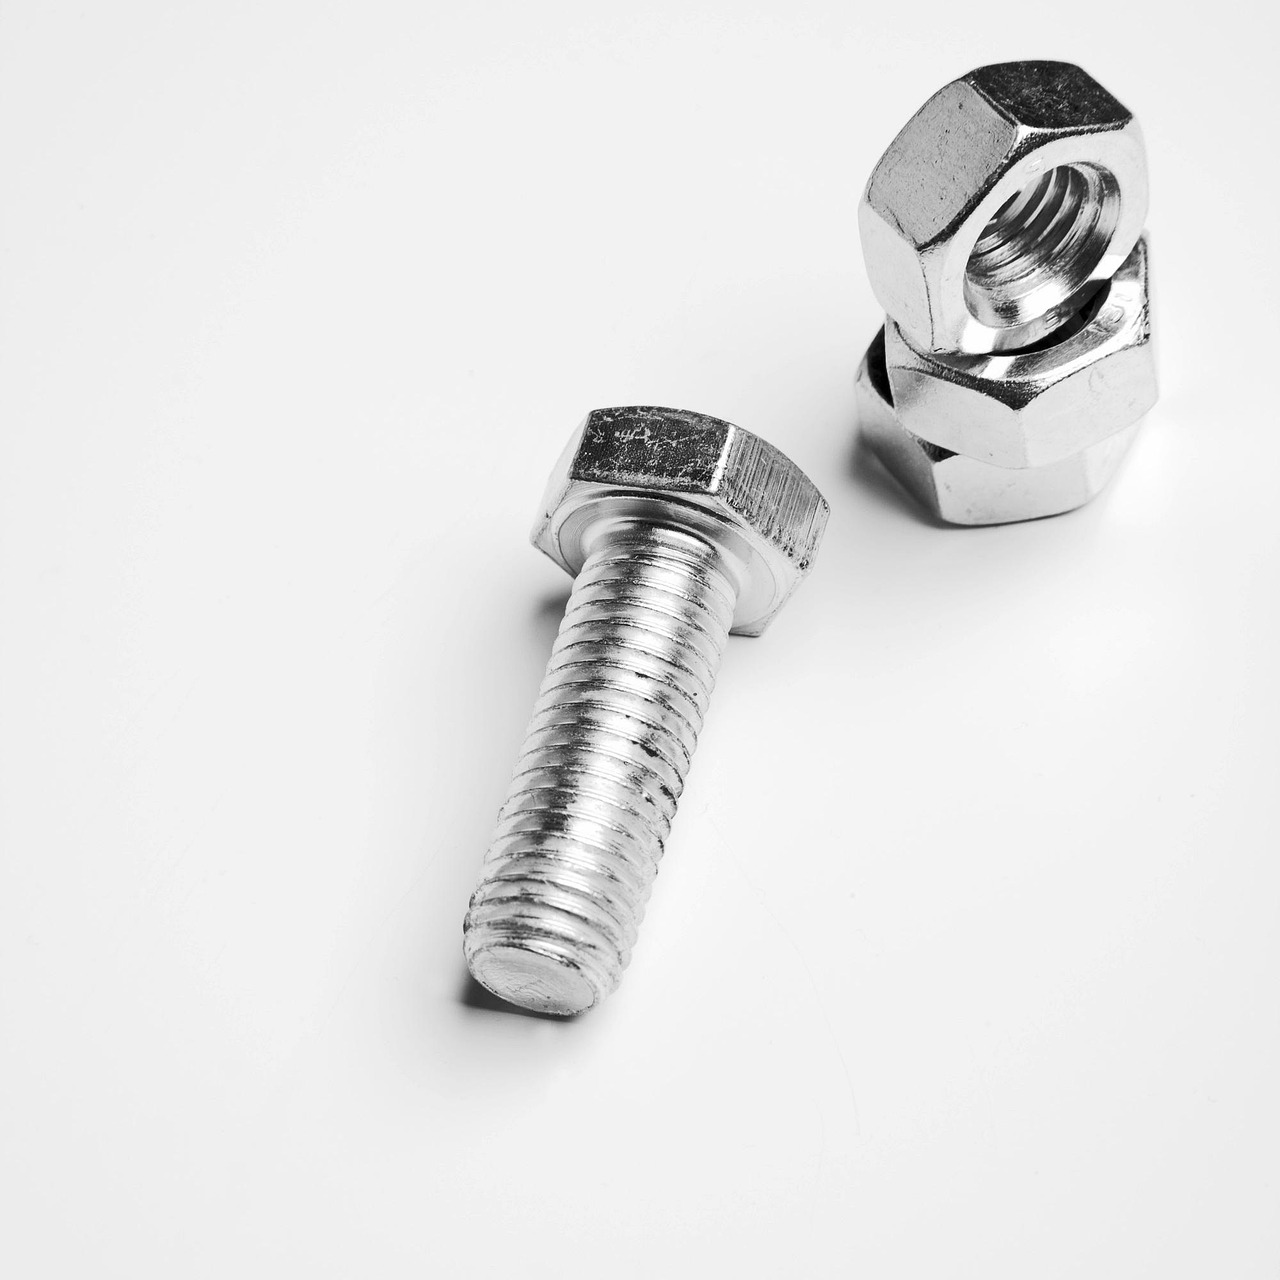
Start by tightening the machine screws that connect the metal bracket cradle to the underside of the wooden handrail. If these screws spin freely without tightening, the wood threads inside the pilot holes have stripped out. Remove the bracket, dip wooden toothpicks or matchsticks coated in wood glue into the stripped screw holes, let them dry, and trim them flush with a chisel. This provides fresh wood fibers for the screws to bite into when you reattach the bracket.
Next, check the fasteners securing the bracket baseplate to the wall. If the bracket was anchored directly into hollow drywall without hitting a wall stud, the anchors will inevitably pull loose under body weight. Whenever possible, reposition or extend the bracket slightly so you can drive heavy-duty wood screws directly into the center of a vertical wall stud. If you must use wall anchors in hollow areas, upgrade to heavy-duty toggle bolts or threaded metal drywall anchors designed to withstand shear loads.
Verifying that every wall bracket is securely fastened will immediately eliminate side-to-side slop in the handrail, reducing the mechanical burden placed on the balusters below.
Preventative Maintenance and Monitoring
Staircases are dynamic structural elements that experience continuous mechanical stress and environmental changes throughout the year. Once you have successfully tightened your balusters and eliminated handrail creaks, a small amount of preventative care will keep your repairs solid for years to come.
Monitor your home’s indoor relative humidity, particularly during seasonal shifts from humid summers to dry winter heating seasons. Extreme humidity swings cause wood framing members to swell and shrink, reviving gaps in glued joints. Using whole-house humidifiers or localized air conditioning helps stabilize wood moisture content. Additionally, perform a quick tactile check of your high-traffic balusters and handrail brackets once a year. Catching a single loosening spindle early—before it wears down the surrounding wood socket—allows for a simple five-minute glue touch-up rather than a major woodworking repair.
By establishing a routine inspection schedule, you protect your investment in your home’s finish carpentry and maintain a safe environment for family members and guests alike.
Conclusion
Fixing loose stair balusters and creaking handrails does not require advanced carpentry skills or destructive remodeling techniques. By systematically diagnosing whether the movement stems from worn mortise joints, failed fillet strips, shifting stair treads, or loose wall brackets, you can apply targeted, non-destructive solutions. Utilizing precision glue syringes, structural adhesives, and discreet pin-nailing techniques lets you restore absolute rigidity and quiet stability to your staircase while preserving its original finish and structural integrity.