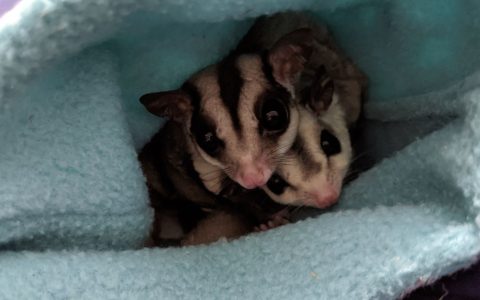
Maintaining your pet marsupial’s claws is an essential part of routine exotic pet husbandry. Because these tiny arboreal animals rely heavily on their sharp nails for climbing and gripping fabrics, cages, and your clothing, letting them grow unchecked can lead to snagged toes, accidental scratches, or torn nails. However, approaching a grooming session without a plan can stress both you and your animal. This comprehensive sugar glider nail trimming care guide provides a practical, step-by-step roadmap for mastering safe handling, identifying the right tools, and keeping grooming sessions as stress-free as possible.
Understanding Sugar Glider Nails and Anatomy
Before you even pick up a pair of clippers, it helps to understand what you are working with. Sugar gliders have five digits on each foot, and their claws are remarkably sharp and needle-thin. Because they are designed for gripping tree bark in the wild, they grow continuously in captivity.
When looking closely at a claw, you will notice a darker central core running partway down the length of the nail. This is known as the quick. The quick contains tiny blood vessels and nerve endings. Cutting into the quick causes pain, bleeding, and can make your pet deeply distrustful of future handling. Your goal during any grooming session is to nip only the very clear, hooked tip of the claw, staying well clear of that sensitive inner core.
It is also worth noting that their back feet feature a specialized grooming claw—a fused second and third digit that they use for grooming their fur. You should generally leave this specialized claw alone unless it is excessively long or curving into the footpad, as over-trimming it can interfere with their natural self-grooming behaviors.
Furthermore, recognizing how these claws interact with your home environment is crucial. Gliders do not retract their claws like felines do. Instead, their sharp tips remain extended at all times to secure their footing on vertical surfaces. When they climb up your cotton shirts, fleece cage liners, or curtains, those needle-like points can easily catch loops in the fabric. A snagged toe can result in a frantic animal twisting wildly to break free, which frequently leads to sprained joints, torn claws, or fractured digits. Regular, proactive maintenance drastically minimizes these everyday household hazards.
Assembling Your Grooming Toolkit
Having the right equipment ready before you wake your pet up can make the difference between a smooth two-minute session and a stressful ordeal. Because these animals are small and quick, fumbling around for tools mid-session will only agitate them.
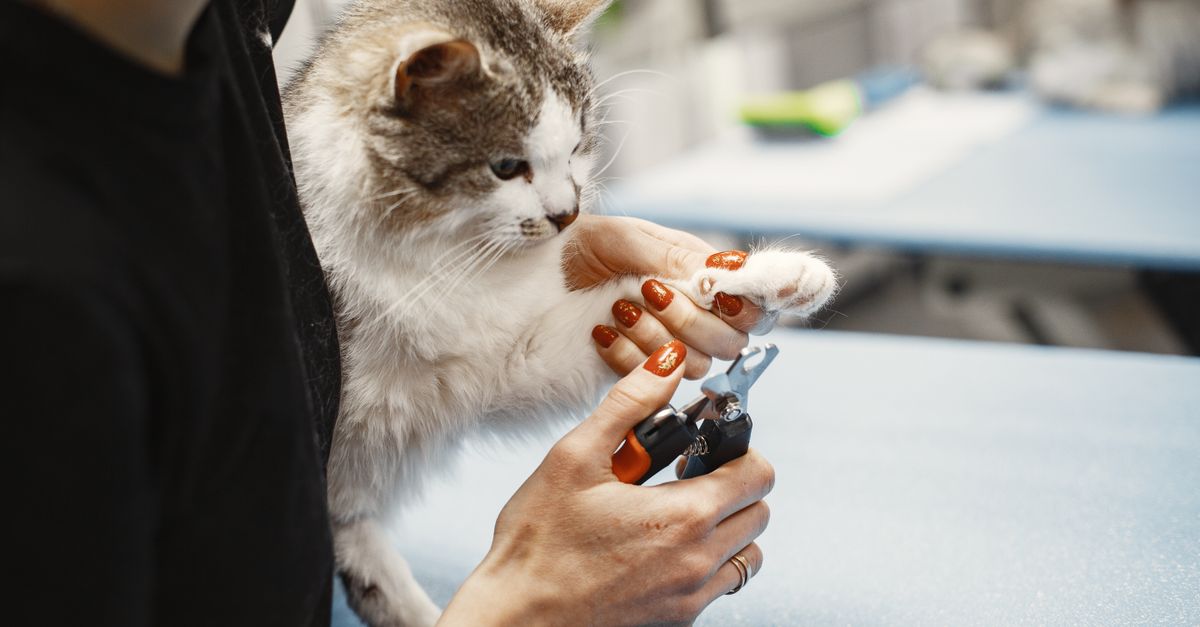
First, invest in a proper pair of clippers. Many owners use human fingernail clippers, baby nail scissors, or specialized small-animal trimmers designed for birds or kittens. The most critical factor is sharpness. Dull clippers crush the nail rather than slicing cleanly through it, which creates uncomfortable pressure and increases the risk of splitting the claw.
Next, prepare your safety supplies. Even experienced owners occasionally nick the quick, especially if a glider makes an unexpected jump. Keep a small amount of styptic powder, cornstarch, or even clean flour nearby, along with a cotton swab. If minor bleeding occurs, pressing a small pinch of styptic powder to the tip of the nail stops it instantly. Finally, secure a soft, fleece bonding pouch or a clean hand towel that you can use for the restraint wrap.
In addition to clippers and styptic agents, lighting and seating setup matter immensely. Do not attempt to trim your pet’s nails in a dim room or while standing awkwardly over a couch. Set up a comfortable chair at a sturdy desk or kitchen table. Position a flexible-neck desk lamp or wear a focused LED headlamp so that both of your hands are completely free to manipulate the paws and clippers without needing to hold a flashlight at the same time. Having a second person present to hold a flashlight or hand you supplies can also be an immense help during your first few grooming sessions.
Mastering the Safe Towel Wrap Technique
One of the foundational pillars of any reliable safe handling for pet sugar gliders protocol is the towel wrap, often called the “burrito” method. Attempting to hold a squirming, lightweight marsupial in your bare hands while trying to clip its tiny nails is nearly impossible and dangerous for the animal’s fragile bones.
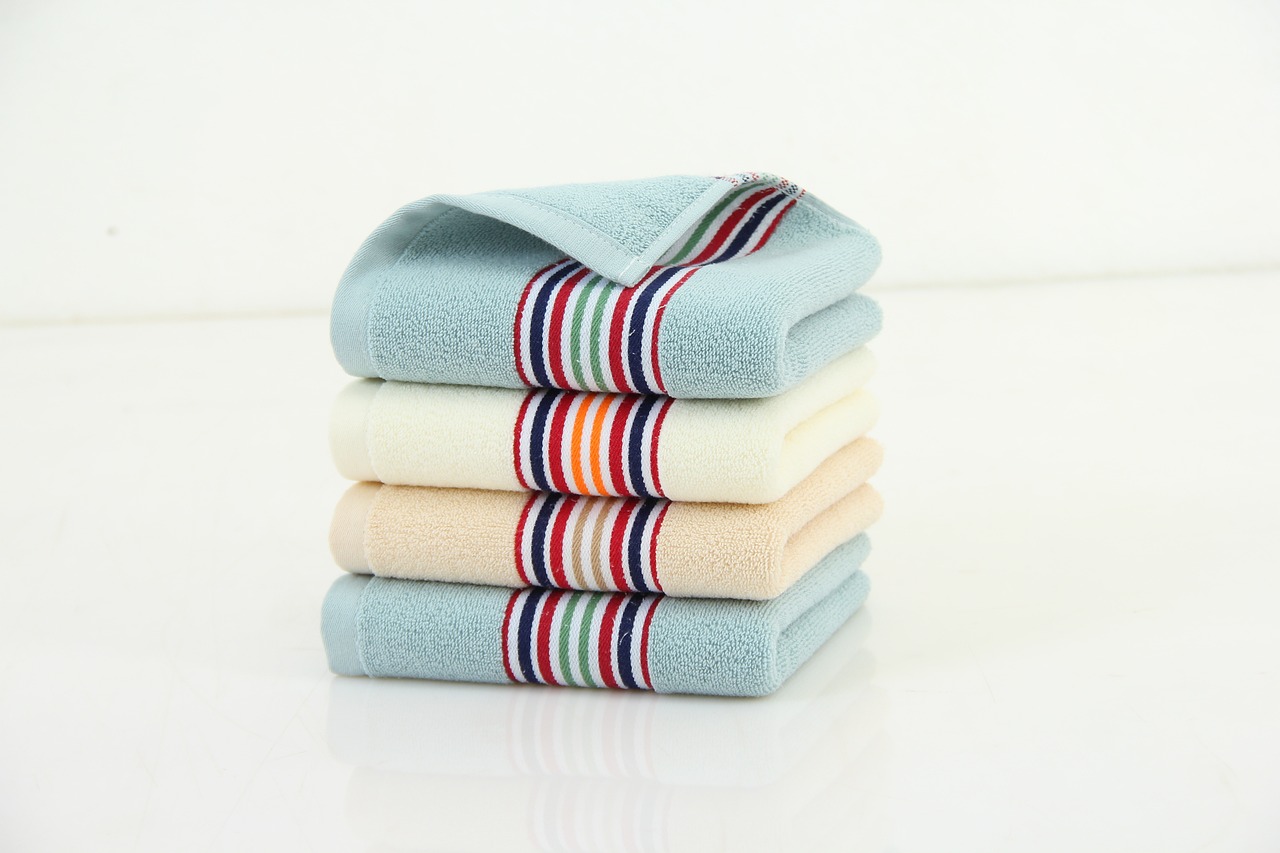
To perform a safe towel wrap, place a soft, clean hand towel flat on your lap or a secure table. Gently guide your pet onto the center of the towel. With calm, deliberate movements, fold one side of the towel gently over the animal’s body, wrapping it snugly—but never tightly—so that its limbs are contained against its torso. You can gently expose one foot at a time by sliding the fabric back just enough to reveal a single paw.
This method accomplishes two major goals. First, it prevents the animal from darting away or launching itself off a high surface. Second, the enclosed, dark environment of the towel often has a calming effect, reducing the adrenaline spikes that lead to defensive crabbing or biting. Always work slowly, talk in a quiet, reassuring voice, and pause if your pet begins to panic or hyperventilate.
Mastering this wrap takes practice. If your glider is particularly wiggly and manages to wedge its nose or paws out of the wrap, do not squeeze them harder. Instead, calmly unwrap them, let them settle for thirty seconds on your chest or lap, and restart the wrapping motion gently. The goal is to make the wrap feel like a secure, cozy nesting pouch rather than a restrictive trap. If you notice your pet flattening its ears or making sharp barking or crabbing noises, pause the process, offer a gentle chin scratch through the fabric, and wait for their breathing rate to normalize before touching the paws again.
Step-by-Step Nail Trimming Procedure
Once your pet is securely wrapped and calm, you can begin the physical trimming process. Good lighting is non-negotiable; position a bright desk lamp or use a headlamp so you can clearly see the translucent tip versus the darker quick.
Follow this step-by-step workflow for every session:
- Expose One Paw: Gently loosen a small section of the towel to free a single foot, keeping the rest of the body securely bundled.
- Isolate a Digit: Use your thumb and index finger to gently hold the specific toe you are working on. Avoid squeezing the foot hard.
- Locate the Quick: Identify where the clear, hooked tip ends and the pink or dark vascular quick begins.
- Release and Rotate: Work your way through the accessible claws on that foot, then re-wrap and access the next limb.
Most beginners make the mistake of trying to trim all four feet in a single sitting. If your pet is showing signs of agitation, or if you are losing your own patience, stop immediately. It is far better to trim two feet today and finish the other two a few days later than to push past your pet’s threshold of tolerance.
When holding the individual toe, apply minimal pressure. Sugar glider bones are extremely delicate, and accidental crushing injuries can happen if you pinch too tightly with heavy adult fingers. If your pet curls its toes into a tight fist in response to being touched, do not force them open. Instead, gently stroke the top of the foot or tickle the pad slightly until they relax their grip and extend their digits naturally. Patience during this phase prevents accidental miscuts.
Using Positive Reinforcement and High-Value Treats
Grooming should never be viewed solely as a stressful chore; it can actually become an opportunity to strengthen your bond with your pet through positive reinforcement. Because sugar gliders are highly food-motivated, associating the end of a grooming session with a high-value treat changes their perception of the entire experience.
As soon as you finish the trim and release the animal back into its cage or bonding pouch, immediately offer a favorite reward. Ideal treats include a tiny drop of plain yogurt, a smear of honey on a spoon, a small piece of fresh fruit like papaya or mango, or a live mealworm. By pairing the handling experience with an immediate, delicious reward, your pet will quickly learn that the mild annoyance of having its claws clipped leads directly to a culinary jackpot.
Avoid scolding, yelling, or punishing your pet if it crabs, chatters, or tries to nip during the process. Negative reactions from you will only increase their fear and make future maintenance significantly harder. Instead, maintain a steady, calm, neutral demeanor throughout the entire session. If your pet bites or vocalizes defensively, acknowledge that they are scared, keep your movements slow, and proceed with quiet confidence.
Over time, consistent post-grooming treats create a powerful behavioral conditioning loop. Many gliders that initially hiss or fuss during the first few sessions will eventually sit placidly through a trim simply because they anticipate the sweet reward waiting for them at the very end.
Establishing a Realistic Maintenance Schedule
How often you need to trim your pet’s claws depends on several factors, including their age, activity level, diet, and the types of cage accessories you provide. On average, most captive marsupials require nail maintenance every two to four weeks.
Young, highly active gliders running on a safe, solid-surface wheel often wear down their back nails naturally, but their front claws still tend to stay sharp. Older or less active animals may need more frequent attention because they spend less time running and climbing vigorously.
Keep a simple log on your phone or exotic pet care calendar noting the dates you perform maintenance. This helps you track growth patterns and ensures you do not accidentally let months pass between sessions, which allows the quick to grow out longer and makes future trims trickier. If you wait too long between sessions, the vascular quick inside the nail elongates right along with the outer keratin shell, making it physically impossible to trim the nail short without hitting blood vessels. Regular two-to-four-week intervals keep the quick safely receded.
Common Mistakes to Avoid
Even with the best intentions, owners can fall into a few common traps when maintaining their pets’ claws. Being aware of these pitfalls will save you and your animal considerable grief.
One major error is attempting to groom a sleeping animal during the wrong part of the day. While it is tempting to catch them during their daytime sleep cycle when they are sluggish, waking them up abruptly often triggers a startled, defensive reaction. Instead, try to schedule grooming sessions during their natural evening waking hours when they are naturally alert but calm, perhaps right after they have had a chance to wake up and stretch.
Another mistake is neglecting cage modifications that can help reduce the frequency of manual trims. While manual clipping is sometimes necessary, you can slow down sharp growth by incorporating natural wood branches with rough bark (such as apple, pear, or kiln-dried pine that is safe for exotic pets) into their enclosure. Some owners also install specialized wheel inserts designed to help file down nails naturally as the animal runs.
Additionally, avoid using standard human nail clippers if the cutting edge is thick or dull. Many people grab whatever is lying around in the bathroom drawer, only to find that the thick blades crush the delicate claw rather than cleanly shearing it. Always inspect your clippers before starting to ensure they are clean, sanitized with rubbing alcohol, and mechanically sharp.
When to Seek Professional Veterinary Assistance
While routine grooming can easily be managed at home with practice, there are times when you should hand the job over to an experienced exotic veterinarian. If your pet is extremely aggressive, highly reactive, or has underlying health issues, forcing a home grooming session can cause injury or break trust.
Furthermore, if you accidentally nick the quick and the bleeding does not stop within a minute or two using styptic powder, or if your pet sustains a torn nail that is bleeding heavily or hanging at an odd angle, contact your vet immediately. Exotic veterinarians have specialized lighting, magnification, and professional tools to handle nail injuries safely and can also demonstrate the proper technique during your next routine wellness checkup.
Veterinary technicians are also wonderful resources if you feel unconfident about your technique. Many exotic animal clinics offer low-cost nail-trimming appointments or technician visits where you can watch a professional handle your glider, ask questions about your specific clippers, and learn how to manage stubborn wiggling in a controlled clinical environment.
Frequently Asked Questions About Sugar Glider Grooming
To help you fine-tune your grooming routine, here are answers to some of the most common questions exotic pet owners ask regarding nail care and handling.
Can I use an emery board or human nail file instead of clippers?
Filing a sugar glider’s nail with an emery board is generally impractical and stressful because it requires holding the tiny toe still for far too long. The rapid, single-motion snip of a sharp clipper is much faster and less stressful than the prolonged friction of filing.
What should I do if I accidentally cut the quick and it bleeds?
Do not panic. Minor bleeding from a nicked quick looks dramatic because of the animal’s small body size, but it is easily managed. Dab a small pinch of styptic powder, cornstarch, or flour onto the bleeding tip with gentle pressure for five to ten seconds. The bleeding will stop almost immediately. Return your pet to its cage with a treat to calm its nerves, and monitor the paw later that evening to ensure no ongoing irritation.
How can I make my glider less afraid of the clippers?
Desensitization takes time. Before attempting a full trim, let your pet sniff the closed clippers while you offer a tasty treat. Practice touching the clippers gently against their back or tail without clipping anything, immediately following up with a reward. Over several days, they will associate the sight and sound of the clippers with positive rewards rather than fear.
By sticking to a predictable routine, maintaining the right tools, and prioritizing gentle restraint, managing your pet’s claws becomes a straightforward part of responsible exotic pet ownership.