
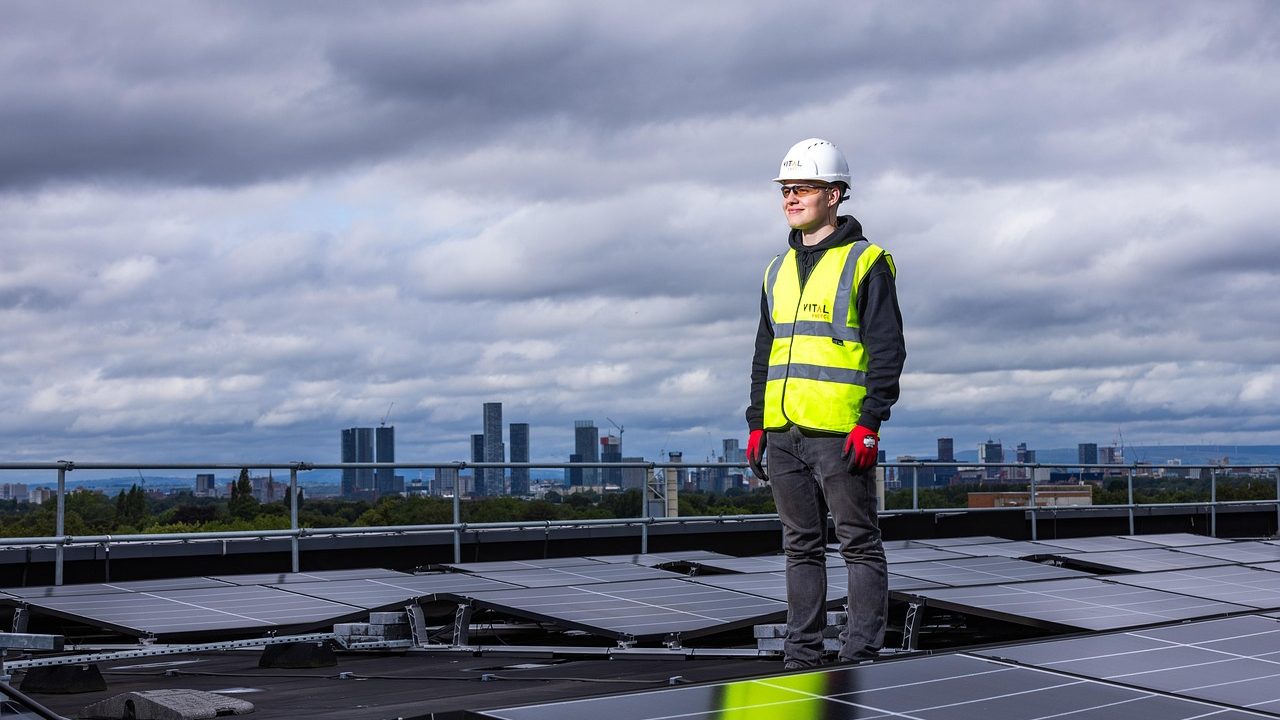
When you install a residential solar array, your focus naturally centers on clean energy generation and shrinking monthly electricity bills. However, your roof takes on a major structural and weatherproofing job beneath those photovoltaic panels. Every attachment point—whether it uses a standard lag bolt, flashing assembly, or specialized tile hook—represents a physical penetration through your roof’s protective layers. Implementing a regular solar panel roof mount maintenance guide routine is the single best way to protect your home from water intrusion, rot, and costly structural strain over the multi-decade lifespan of your solar system.
Many homeowners assume rooftop solar arrays are entirely maintenance-free once commissioned. While the electrical components require minimal hands-on care beyond occasional panel washing, the mechanical interface between the mounting hardware and your roof deck demands physical inspection at least once a year. Changing weather conditions, thermal expansion and contraction, heavy winds, and heavy snow loads all exert physical stress on mounting brackets and roof flashing. Catching a degraded rubber seal or a slightly loosened lag bolt early takes minutes; repairing rot-damaged plywood beneath the shingles takes thousands of dollars.
Understanding Your Roof Penetration System
Before climbing onto your roof or hiring a service professional, it helps to understand how modern solar mounting systems attach to your home. Most residential installations on asphalt shingle roofs rely on a lag screw system. A hanger bolt or lag screw passes through a specialized flashing plate, through the roofing shingle and underlayment, and directly into a wooden roof rafter or truss. The flashing plate sits underneath the upper course of shingles to shed water away from the hole, while a raised collar or rubber boot seals tightly around the base of the mounting foot.
Tile and metal roofs use different attachment strategies, such as curved tile replacement hooks or standing seam clamps that require zero roof penetrations. Regardless of your specific hardware, the core vulnerabilities remain identical: fastener security and waterproof flashing integrity. Over time, constant sun exposure degrades rubber components, while seasonal temperature swings cause metal brackets to expand and contract, occasionally backing out fasteners or putting friction on sealants.
To grasp the full scope of maintenance, you must also consider the hidden layers beneath your shingles. The roof deck—typically composed of OSB (oriented strand board) or plywood—relies on roofing felt or synthetic underlayment as a secondary weather barrier. When a lag bolt pierces this system, the integrity of the installation depends entirely on the flashing’s ability to direct water laterally around the penetration rather than letting it pool against the fastener hole. If your flashing becomes misaligned, clogged, or buckled by shifting snow or ice dams, water finds the path of least resistance directly into your attic space.
Additionally, understanding the mechanics of thermal expansion is crucial. Metals expand when heated by direct sunlight and contract when temperatures drop at night. Over thousands of diurnal cycles, this constant micro-movement can rub against sealants or place sideways shear stress on fasteners. Premium mounting hardware incorporates features designed to mitigate this stress, but even the best-engineered systems benefit from a trained eye verifying that components remain secure, aligned, and watertight year after year.
Safety First: Preparing for Rooftop Maintenance
Roof work inherently carries physical risks. Before you begin any inspection of your solar array’s mounting hardware, establish a strict safety protocol. Never walk on a wet, icy, or heavily frosted roof. Ensure your extension ladder extends at least three feet above the roofline, is secured at the base and top, and rests at a safe four-to-one angle. Wear soft-soled, slip-resistant footwear that provides good traction on shingles without damaging granules.
If you have a steep-pitch roof—anything greater than a 6-in-12 slope—or if your panels sit on a multi-story second or third floor, strongly consider hiring a certified solar O&M (operations and maintenance) professional or a licensed roofer to perform the physical roof-level inspection. Your personal safety is always worth more than the cost of a service call.
Additionally, review your electrical safety basics. While physical mounting brackets do not carry high-voltage direct current (DC), junction boxes, optimizer units, and microinverters mounted beneath the array do. Never touch exposed wiring, conduit connections, or grounding lugs during your mechanical inspection. If you spot a loose grounding wire or frayed conduit, treat it as an electrical hazard and call a professional solar technician immediately.

Step One: Clearing Debris Around the Array
The first physical step in your maintenance routine is clearing organic debris from around and beneath the solar array. Leaves, pine needles, twigs, and wind-blown dirt frequently accumulate along the upper edge of the solar panels and around the mounting feet. When left unchecked, this debris acts like a sponge, holding standing water and damp organic matter directly against your roof shingles and flashing plates.
Use a soft-bristled, long-handled roof rake or a leaf blower on a low setting to gently clear accumulated matter from beneath the panels. Avoid striking the glass surfaces or the aluminum frames with rigid tools. As you clear the debris, pay close attention to the drainage channels around the flashing plates. Water must be able to flow freely down the roof slope without being dammed by leaves or silt trapped behind mounting brackets.
For homes surrounded by heavy tree cover, debris accumulation can happen rapidly during autumn storms or spring pollen drops. Consider inspecting drainage paths quarterly rather than semi-annually if you notice heavy organic buildup. Left uncleared, damp debris can also accelerate granular loss on asphalt shingles, thinning out the protective layer of your roof and weakening the shingle’s grip on the solar mounting flashing plates.
Furthermore, managing debris helps prevent secondary issues like pest nesting. Birds, squirrels, and rodents are frequently attracted to the sheltered space beneath solar arrays. If animals nest under your panels, they may chew on DC wiring, foul the roof surface with corrosive droppings, or drag additional nesting material into drainage zones, completely blocking water flow around mounting feet and increasing the risk of localized roof leaks.
Step Two: Inspecting Flashing and Sealants
With the area clean, you can thoroughly examine the metal flashing plates and waterproof sealants at each mounting location. Start by looking for visual indicators of sealant failure. Older installations often rely on polyurethane or silicone caulking applied around bolt heads or beneath flashing edges as a secondary defense layer. Over years of intense ultraviolet radiation, these sealants can dry out, crack, peel away, or pull apart from the metal and shingle surfaces.
Examine the rubber collars or boots (often called pipe boots or weather collars) surrounding the raised mounting bolts. UV rays break down synthetic rubber over time, leading to radial splitting, dry rot, and crumbling material. If you see visible cracks, gaps, or missing chunks in the rubber collar, water can easily funnel directly down the fastener hole during a heavy rainstorm. Even if the flashing metal itself is intact, a compromised rubber seal destroys the multi-layer waterproofing system.
When inspecting aluminum or galvanized steel flashing plates, look for signs of bending, lifting edges, or wind flutter. High winds can catch the lip of a poorly secured flashing plate, pulling it upward and creating a gap beneath the shingle course. If you notice any lifting, gently press the shingle course back down and check whether the underlying nails or screws remain secure. Any flashing that appears permanently warped should be re-secured or replaced by a professional roofer to maintain watertight integrity.
It is also important to recognize that different roofing materials interact with flashing in unique ways. On composite shingle roofs, flashing plates rely heavily on gravity and shingle overlap. On tile roofs, specialized curved flashing pans must integrate seamlessly with surrounding tiles to prevent water from pooling in channels. If you notice cracked tiles or misaligned flashing pans during your inspection, address them immediately before autumn rains or winter snowpacks exacerbate the opening.
Step Three: Checking Lag Bolt Torque
Structural stability relies entirely on the mechanical connection between the lag bolt and your roof’s wooden framing. Over years of wind buffeting the large surface area of a solar array, mounting hardware can experience micro-vibrations that cause lag bolts to loosen slightly. While you generally should not loosen and retighten structural bolts without guidance from your installer, checking fastener torque with a calibrated torque wrench ensures nothing has slipped.
Consult your solar mounting system’s engineering documentation for the exact manufacturer-specified torque rating—typically measured in foot-pounds. Using a calibrated torque wrench, gently check the bolt heads on the mounting feet. If a bolt turns freely before clicking at the specified torque limit, it has worked itself loose and requires attention. Be careful not to over-torque bolts, as excessive pressure can strip the wood fibers inside the rafter or crack aluminum mounting components.
If you discover a spinning or stripped lag bolt, do not simply force a larger screw into the same hole without professional consultation. A stripped hole in a roof rafter loses its holding strength, meaning the entire bracket may need to be relocated or reinforced with secondary blocking inside the attic. This is a clear indicator that DIY intervention must pause and a licensed contractor should step in to evaluate structural load capacity.
In addition to checking individual lag bolts, observe the overall alignment of the mounting feet relative to one another. If a single mounting foot appears lower, higher, or tilted compared to its neighbors, it may indicate localized wood compression or rafter movement. Documenting these subtle shifts during your routine checks can help you catch structural fatigue long before it poses a safety hazard to your household.
Step Four: Evaluating Rail and Clamp Alignment
The mounting rails and mid/end clamps hold your solar panels securely in place. Take a systematic walk along the array to inspect these components for alignment issues. Panels should sit flush and evenly spaced across the rails. Check the end clamps and mid-clamps to ensure they remain tight and properly seated against the panel frames.
Thermal expansion can occasionally cause rails to shift slightly or clamps to walk out of alignment. If a clamp appears crooked or loose, check its fastening bolt. Loose clamps not only risk letting panels shift or slide during high winds, but they can also create point-load stress on the glass frames of the photovoltaic modules, potentially causing micro-cracks that degrade electrical output over time.
Pay special attention to grounding clips and bonding jumpers integrated into the rail system. These small metal components ensure continuous electrical continuity across the entire metal framework, preventing static buildup or shock hazards. If a grounding lug looks loose, corroded, or disconnected, note its location for prompt service by a qualified solar technician.
Furthermore, inspect the plastic end caps often placed on the open ends of aluminum mounting rails. While purely cosmetic in some systems, these caps prevent debris, insects, and moisture from entering the hollow core of the rails. If missing, replace them to maintain a clean appearance and keep the internal rail cavities clear of buildup.
Identifying Red Flags: When to Call a Pro
While DIY visual inspections and light cleaning are manageable for many homeowners, certain conditions require immediate intervention by a licensed professional. Knowing your limits prevents minor maintenance issues from escalating into major structural remediation projects.
- Interior Water Stains: Any brown water spots on your ceilings or dampness in your attic directly beneath the solar array indicate an active roof leak that demands immediate professional investigation.
- Sagging Rafters or Decking: If the roofline appears depressed or bouncy underfoot near the array, the structural framing may be compromised by long-term moisture exposure.
- Corroded Hardware: Severe white powdery oxidation or red rust on aluminum rails, stainless steel bolts, or flashing plates suggests galvanic corrosion or incompatible metals interacting in a coastal environment.
- Broken Tiles or Cracked Shingles: Damaged roofing material surrounding the mounts compromises the primary weather barrier and requires professional shingle or tile replacement.
Recognizing these warning signs early saves you from catastrophic repair bills later. If an active leak is suspected, check your attic during or immediately following a heavy rainstorm using a bright flashlight. Tracing water paths from the underside of the roof deck often reveals the exact mounting foot responsible for the infiltration.
It is also wise to consult a professional if your solar array has weathered a severe natural event, such as a major hurricane, heavy ice storm, or nearby microburst. Even if visible components look intact from the ground, extreme wind uplift forces can stretch lag bolts or warp internal mounting plates without showing immediate signs on the surface.
Establishing a Preventative Maintenance Schedule
Consistency is key to effective home maintenance. Do not wait for a major storm or an interior ceiling stain to check your solar mounting hardware. Establish a predictable routine by inspecting your system twice a year—ideally in the spring after winter freeze-thaw cycles conclude, and in the late autumn after deciduous trees have dropped their leaves.
Keep a dedicated home maintenance logbook or digital folder containing your original solar installation diagrams, component specifications, warranty documents, and a photo record from each seasonal inspection. Documenting the condition of your flashing and sealant year over year makes it easy to spot gradual degradation before it results in an active leak.
Additionally, check your home insurance and solar equipment warranty guidelines. Some manufacturers require proof of scheduled maintenance to keep structural and equipment warranties fully valid. Maintaining a clear paper trail protects your investment and ensures seamless warranty service should a factory defect arise.
By treating your rooftop solar array as an integrated part of your home’s overall building envelope rather than a standalone appliance, you ensure that both your energy generation and your roof’s weatherproofing remain in peak operating condition for decades.
Conclusion
A residential solar array is a fantastic long-term investment that lowers energy costs and reduces your environmental footprint. However, because solar panels alter your roof’s traditional weather-shedding capabilities, they require proactive oversight. By following a regular solar panel roof mount maintenance guide workflow—clearing debris, inspecting flashing and rubber seals, verifying bolt torque, and watching for early warning signs—you protect both your home’s structural integrity and your financial investment for decades to come.



